

Propagation 102: How to Propagate from Cuttings
In This Series
This propagation method requires taking cuttings from a parent plant, rooting these severed, vegetative plant parts in order to regenerate, therefore forming a new plant. We will break down the method further into stem and leaf cuttings, but in either case, select a healthy cutting to ensure as much success as possible. Starting a plant with a piece that is already weak won't start the new plant out on the right foot.
What You Will Need
Let's outline what tools and materials you may need throughout this process (some are necessary, some are "nice-to-haves"):
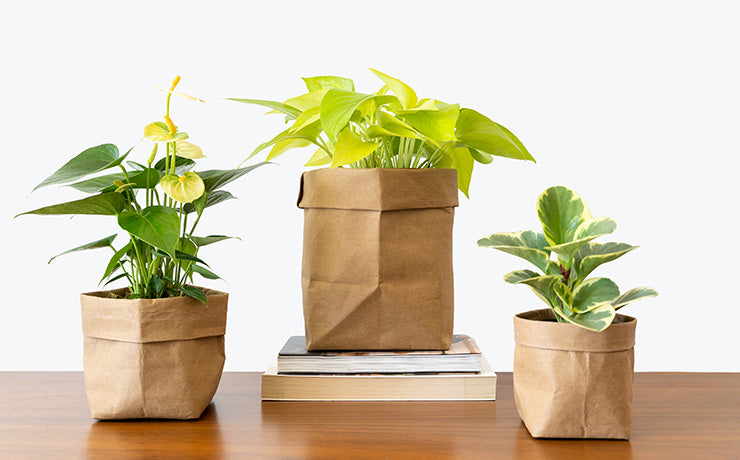
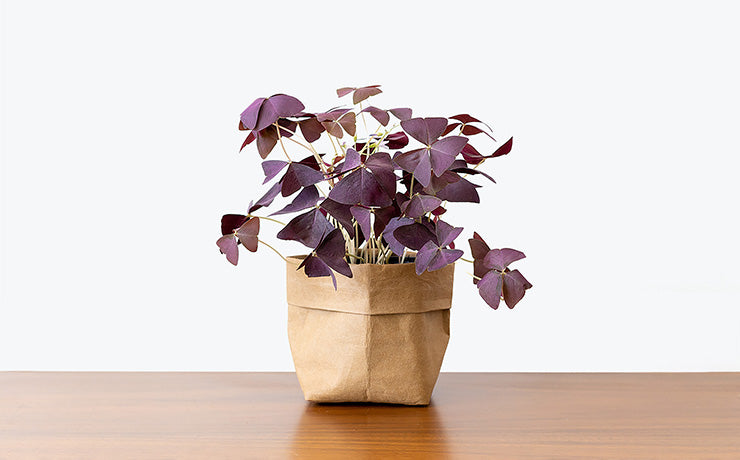
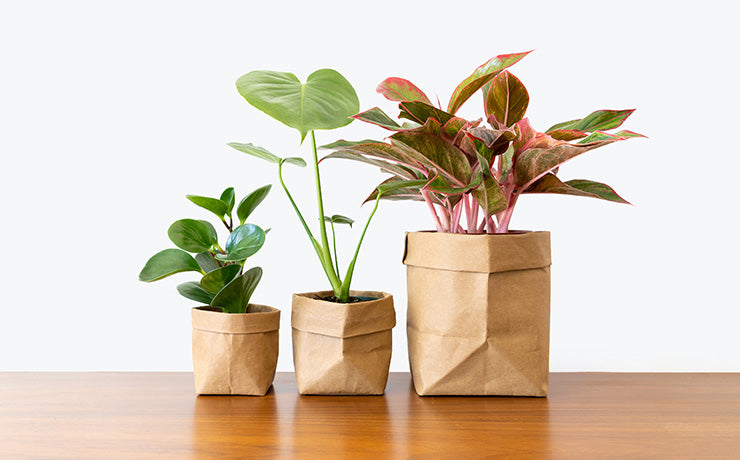
A plant:
Obviously, you will need a plant to propagate! So select the healthy plant you would like to use - although lots of plants can be propagated, some are more successful than others, so the plant of choice will depend on that as well as the propagation method.
Tool of choice:
Sterilized scissors, or clippers - clean tools (done using diluted bleach or rubbing alcohol) will reduce the risk of transmitting diseases or pests between plants.
Potting medium:
You will need your preferred medium, this could be a chunky soil mix, like our Aroid Mix, a regular Potting Mix, Sphagnum Moss, vermiculite, perlite, orchid bark, water, etc. It will all depend on what you prefer or on the plant that you have chosen to propagate, but we will expand on this later on. Avoid garden soil as this is much too dense!
Potting materials:
Have some nursery pots or shallow plastic trays (all with drainage holes) ready for your propagations to be planted into. Generally, your cuttings will not yet have roots, so you do not need much potting media to start with (this will also reduce the chance of rot). If you are putting your cuttings in water, have a glass cup or jar on hand.
Other materials:
Some other materials to have on hand would be: a watering can, a potting mat, gloves, a spray bottle to mist the cuttings as they grow, and rainwater, distilled water, or tap water that has sat out overnight to use to water your cuttings.
"Nice-to-have" materials:
Although the following materials aren't necessary, they can encourage roots to form faster than they normally would: rooting hormone (we outline how to use it throughout the processes below), grow lights (to increase the light levels), and heating mats (keeping the plants and their new roots warm is important).
Stem Cuttings in Soil
This is probably the most common way of propagation, mainly because it is rather simple and can be quite successful. The following are the most common varieties of plants that this method would work on, although not comprehensive - Philodendrons, Pothos, Monsteras, Hoyas, Anthuriums, Tradescantia, Lipstick Plants, Cane Begonias, Jade, String of Hearts, some Succulents, and more! Plants that are vining will often produce new roots very easily from their nodes and plants with woody stems (such as Jades and Begonias) will produce roots from the cut portion of the stem and also from the nodes.
💡
Most aroid species, such as Monsteras, Philodendrons, Pothos, Hoyas, and Anthuriums will have aerial roots, which are roots that form on the stems above the soil, and those can be rooted in the soil as an additional rooting option!
To root cuttings in your potting medium of choice, the following steps are the general guideline to follow, with some different options mentioned throughout:
Step 1: Potting Medium
Chunkier soils, or sphagnum moss mixes, are better for aroids since they will provide a better environment for epiphytes, while peat-based mediums will be great for other plant species. Choosing the optimal medium will encourage rooting in the shortest amount of time. Again, the medium should be sterile and drain well enough to provide oxygen but retain enough moisture. Whatever medium you choose, make sure you will be ready to water appropriately!
Step 2: Choice of Cuttings
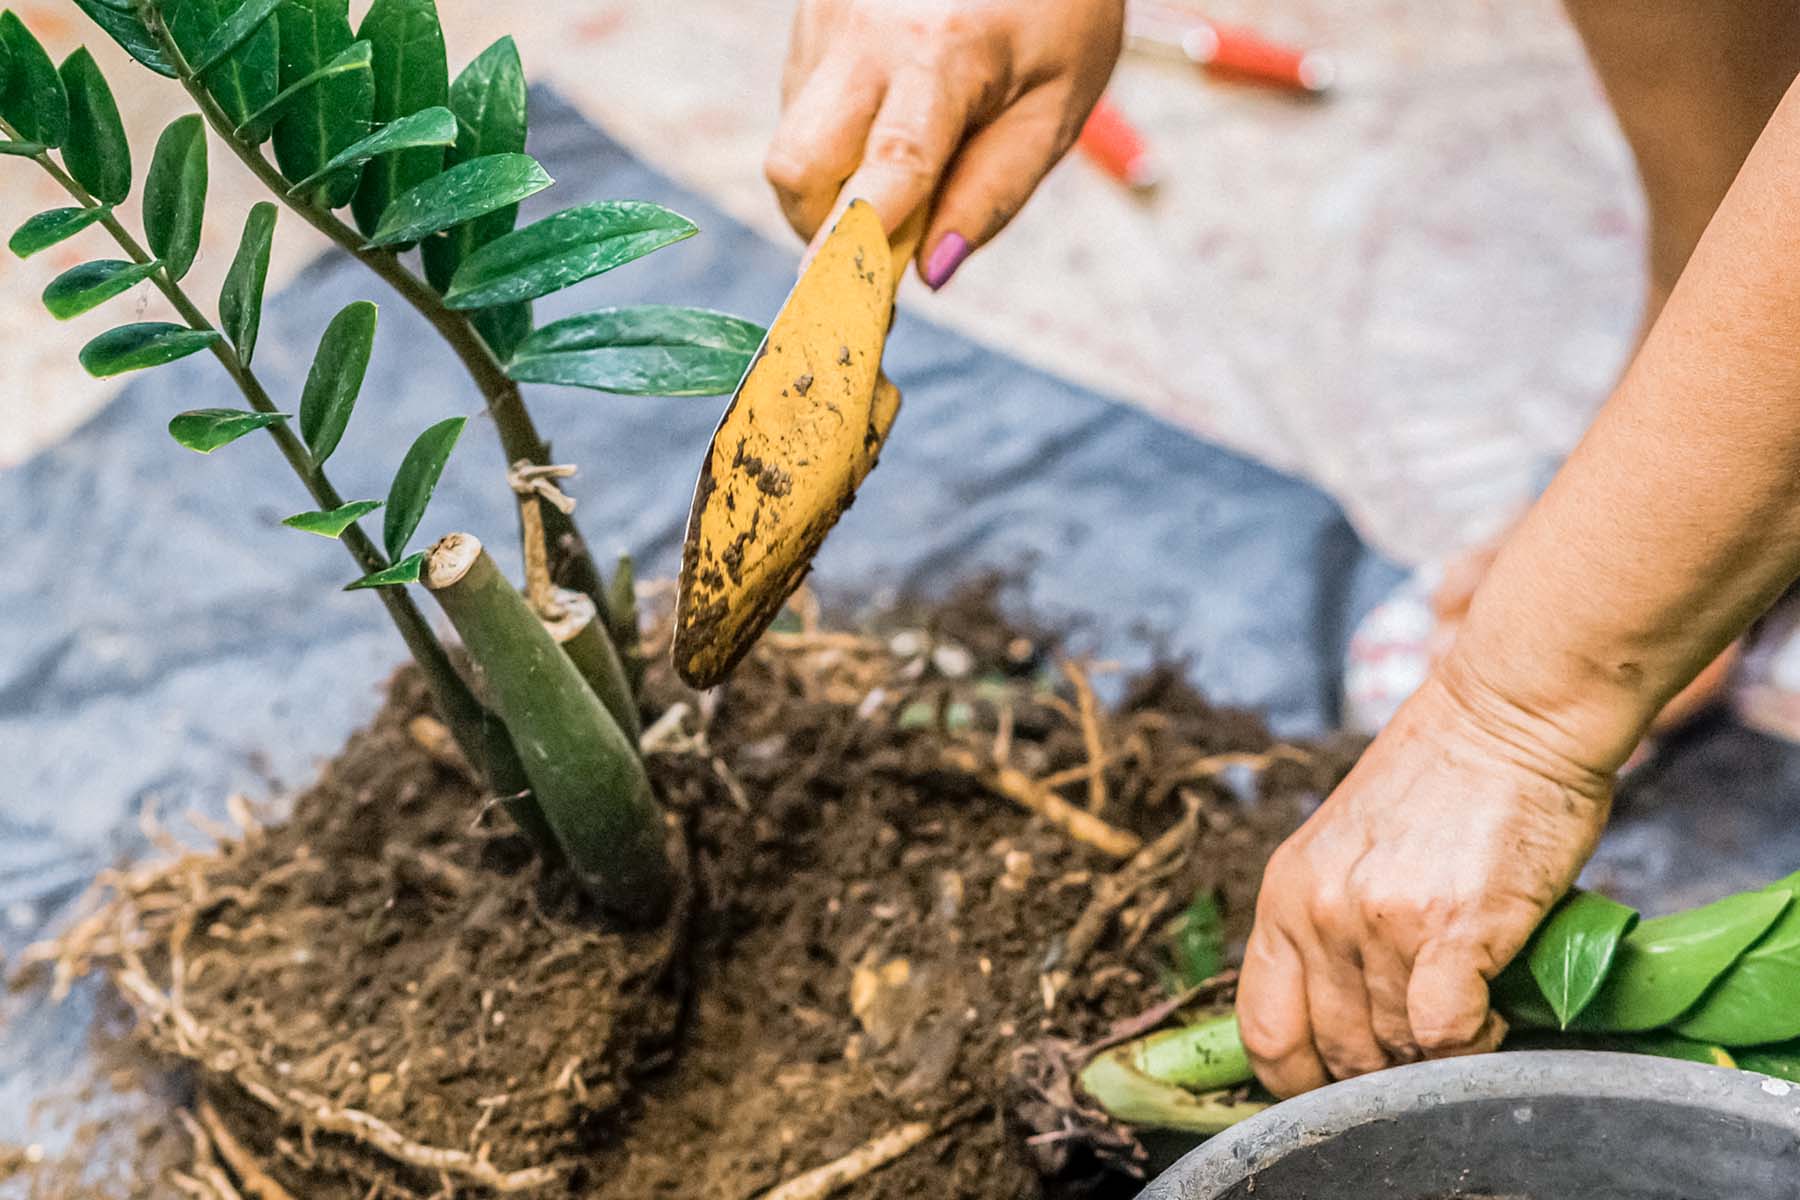
To choose your cuttings, it is recommended to select a piece that is 2-6 inches in length with enough nodes (where the leaves meet the stem) that some bottom leaves can be removed (usually around 2-3 sets of leaves and some nodes). The nodes are what will be planted underneath the soil and from which new roots will grow. Always make your stem cuttings on the internode, the space between two nodes.
🚨
Most stem cuttings should be potted up right away, but those from cacti or succulents should be given some extra time to harden off, about 2-3 weeks. Otherwise, they will soak up too much water when the soil is moistened, therefore exposing them to potential rot.
Step 3: Preparation of Cuttings
Remove the bottom set of leaves of each cutting, this will expose the nodes, which will be planted into the medium and are where new roots will grow from. The rest of the cutting will exist above the soil, where the remaining leaves will receive light energy for photosynthesis and root development. If applicable, remove any blooms on the selected cutting, this will allow it to give all of its energy to root and foliage production.
✂️
Although longer portions of cuttings can be propagated, such as a vine with multiple sets of leaves as one cutting, you can also cut up a longer vine so that there is just one set of leaves and then a node, or one set of leaves and a portion of the stem with aerial roots (most common with aroid species) being planted. These portions of stem can be laid on top of the soil as well, as the aerial roots will grow into the soil.
Step 4: Preparation of Medium
Moisten the medium before placing any cuttings in it. This will make it easier to support the cuttings as well as providing a moist environment for them.
🌿
If you are opting to use rooting hormone, place some hormone on the end of the stem that you are rooting to promote new roots. Gently tap the end of the cutting to remove excess hormone. Don't dip the cutting into the hormone directly as this could cause cross-contamination among plants.
Step 5: Planting the Cuttings
Insert the cutting deep enough into the potting medium so that the nodes are below the surface and it is able to support itself. Although shorter portions can be inserted, it will make it much easier if there is some support. If it is a short cutting being placed in the soil, make sure the portion of the stem with nodes or aerial roots is beneath the surface and the leaves are flush with, but above the soil. If it is a stem cutting that doesn't need nodes to produce roots (such as a Begonia or succulent), just ensure the portion of the stem is beneath the surface and the cutting is supported by the soil.
🔥
Although not necessary, placing your propagation on a heating mat will keep the roots and soil nice and warm, helping the plant along a little faster.
Step 6: Positioning the Propagation
Once you are happy with how full your plant is, or how the cuttings are situated in the pot, place your plant in a location where the top of the pot receives bright, but indirect light. Direct sunlight could be too harsh for the new roots, especially prolonged, afternoon sunlight.
💡
If you don't have a spot that receives plenty of bright, indirect light, try using a grow light to help your propagations take off!
Step 7: Watering
Keeping the soil medium evenly moist at all times is important for root and foliage production, but avoid keeping it too soggy or too dry.
Step 8: Humidity
Generally, most propagations will prefer some humidity to help them along as well. Humidity can be increased by misting them daily, keeping them near a humidifier, or even placing them in a mini greenhouse. If you don't have one of those, try placing them in transparent plastic bags, opening them up every once and awhile to allow for air flow.
Stem cuttings can be taken from tip of the growth or via lower portions of the stems, as long as they have the necessary sections (i.e. attached stem portion, nodes, leaves, etc.), depending on the plant variety, they can be propagated. Taking these cuttings will often encourage more growth on the parent plant, creating a fuller plant or encouraging branching. By taking stem cuttings and growing a new plant, or putting them back into the pot with the parent plant, you are only going to see lots of new growth all around, while also eliminating any "leggy", or stretched growth.
Leaf Cuttings in Soil
Another common method of propagation is done using leaf cuttings, rather than stem cuttings. This can be achieved in three ways: cutting a leaf with an inch or two of petiole (the stalk that attaches the leaf blade to the stem), just the leaf or a section of a leaf. Depending on the plant you have chosen to propagate, certain methods will be successful for one plant species and other methods for other species. The following are the most common varieties of plants that this method would work on - ZZ Plants, Peperomias, Succulents, Snake Plants, Jade Plants, and Rex Begonias.
No matter the leaf cutting method that you choose, new plants will form from the base of each leaf, which is why it is very important to only use healthy leaves when selecting your cutting. With similar beginning steps to above, where you prepare your materials and pots, outlined below are the three techniques of propagating leaf cuttings and the plants that they work the best with:
Whole Leaf with Petiole:
This method is most commonly done with Peperomias, some Begonias, and African Violets. Snip off a healthy leaf with its petiole, cutting close to the main stem, and nestle the petiole into the potting medium you have prepared (vermiculite or perlite mixed with peat moss would be ideal in this case) - firming the soil around it and making sure the leaf blade is not touching the soil. Then, place the plant in a transparent plastic bag (if you wish to keep it humid) and place the cutting in a brightly lit location, where the top of the pot has a vantage point of as much of the sky as possible and very minimal direct sunlight.
🌿
Again, if you are choosing to use rooting hormone, dip the cut end of the petiole or leaf stem into some rooting hormone to speed up the process.
Whole Leaf without Petiole:
Some plants' leaves have no petiole, including most succulents, such as Jade, Echeveria, ZZ Plants, Burro's Tail, and more. These varieties can be propagated by gently breaking off a leaf from the stem and setting the leaf cut-side down into the soil, just deep enough so that it is supported.
🌸
Echeverias have a unique method of propagation. Remove a healthy leaf from the mother plant, lay it on a bed of soil, place it in bright light, right on a windowsill would be best, then watch new roots form over time! After a little while, a plant will begin to grow from the base of the leaf, rooting in the soil as it grows (feel free to mist the soil every once in a while but don't keep it too wet). The original leaf will eventually die off, after the new plant has taken all of the nutrients from it, and can be removed once the plant has supported itself.
Leaf Section Cuttings:
This method is mainly done on Sansevieria, or Snake Plant leaves. Remove a leaf using clean scissors, then, you can either leave the leaf whole or cut it into 3 to 4-inch tall sections. Allow the cut edges to dry slightly for a few days, then pot them into the medium of choice, only placing the cutting deep enough until it is supported, keeping most of the leaf above the soil. This prevents rotting and allows for photosynthesis to take place which in turn creates the new growth you are looking for. Keep your cuttings warm and water very occasionally.
Make sure to cut pieces oriented in the same way they were growing originally, placing the proper edge of each cutting into the soil in the direction of growth!
The Rex Begonia can also be propagated by cutting the major veins on the underside of a leaf and laying that side of the leaf down on the rooting medium, pinning it firmly to the medium with hairpins or paper clips. Keep them in high humidity and baby plants will develop where the major veins have been cut. Some Peperomia varieties are similar, such as the Watermelon Peperomia, but just slice a leaf in half, perpendicular to the lines on the foliage, and place the cut side in your soil.
No matter the method of choice, new babies will begin to form at the base of the leaves or petioles and can be incredibly exciting to see. Over time, the new plant will develop its own roots, stems and leaves, using the nutrients and energy from the parent leaf, which can be removed after it has naturally deteriorated. Once they have reached a manageable size, feel free to pot up the baby plants into their new homes! Depending on the plant, this method can take quite a while, especially for Succulents, Snake Plants and ZZ Plants.
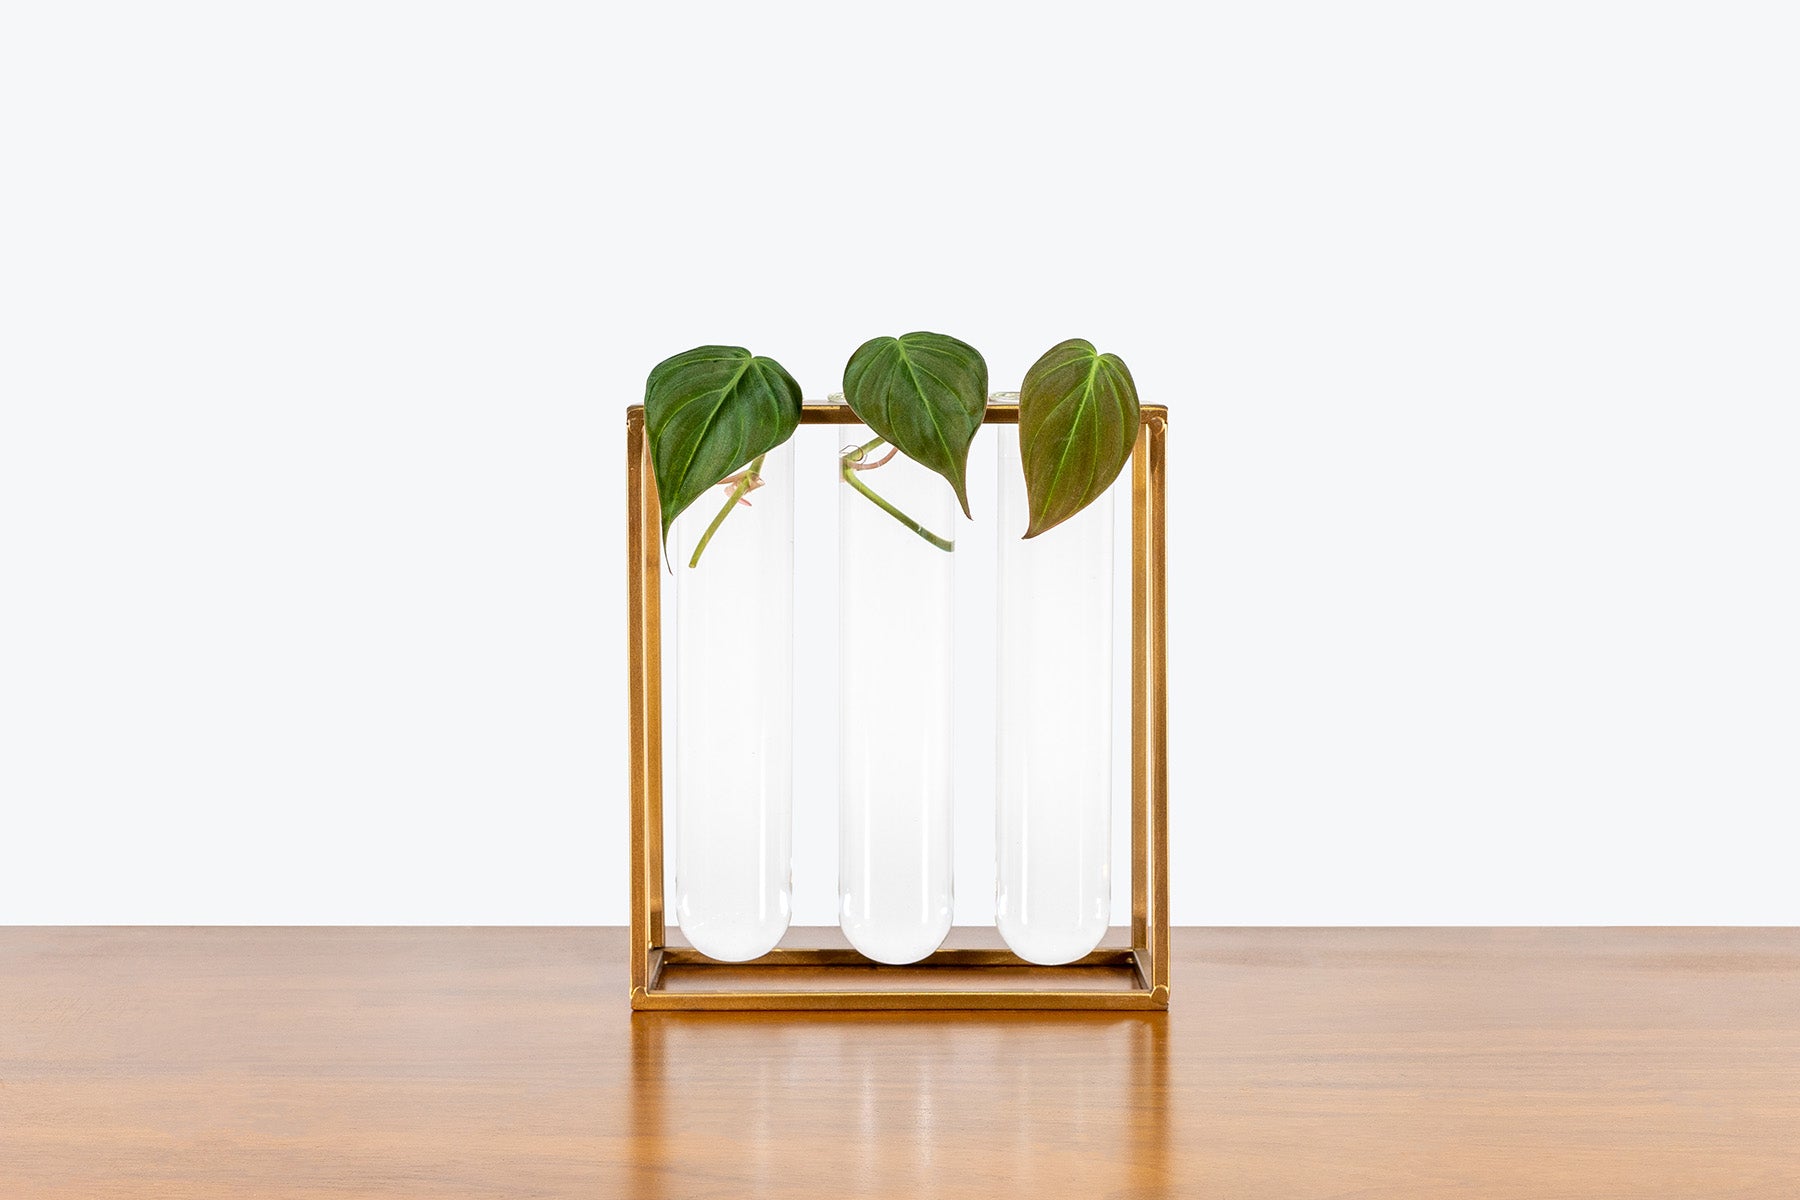
Stem & Leaf Cuttings in Water
@jomostudio How to propagate almost any plant in water 🚰. ##houseplants ##cebublue ##propagation ##houseplantsoftiktok ##plantparent
♬ Peace - Official Sound Studio
Known as an incredibly popular method among beginner propagators, growing cuttings in water can be a great visual way of watching new growth form since you can literally see the roots develop over time. This is why we recommend keeping your cuttings in a clear glass or jar for the greatest effect, it can create a super cute set up on a windowsill or bookshelf. Many varieties of cuttings can be grown in this matter, which includes, but are not limited to, Spider Plants, Monsteras, Philodendrons, Peperomia, Hoyas, Snake Plants, Tradescantias, and more.
For this method, prepare your cuttings as we outline above, choosing either a healthy stem or leaf cutting. Then, instead of rooting the cuttings in a soil-based medium, prepare a glass or jar of room-temperature water. Place your cuttings in this water - if the cutting has nodes, make sure the nodes are under the water, if the cutting as aerial roots, make sure those roots are under the water, and if it is another type of stem or leaf cutting, make sure the base of the cutting is under the water. Avoid keeping any leaves in the water!
🚿
Distilled water, rainwater, or tap water that has sat out overnight is what we would recommend rooting your cuttings in. Keep the water clean throughout this process, by changing it for fresh water every week or so.
Place your jar in a location that receives very bright, indirect light, but not too much direct sunlight, which can be harmful to the new roots. This method of propagating can be so enrapturing that you may check your cuttings every day for signs of new growth! But be patient, the process takes some time. When the roots are about 1/2 - 2 inches long, the plant is ready to be transferred into a potting medium, planting like you normally would plant with roots.
🌿
Peperomias and Snake Plants will begin to produce babies at the base of their cuttings, even under the water. Once these plantlets are of an appropriate size, where they will be able to thrive in a potting medium, then they can be separated from the parent cutting.
There is some debate between rooting plants in water versus soil since rooting in water can add additional stress to plants, as they are growing in an entirely different medium and will then have to adjust to another medium once they are potted up. Planting your cuttings into soil eliminates more steps that you will inevitably have to take if you were to go with the water method first, as well as minimizing the potential of damaging the new, fragile roots that develop in water. You will have to be more mindful of your care of the cuttings, making sure they are receiving enough light and the correct amount of moisture.
That being said the water method is absolutely free and relatively quick. Pick whichever is suitable for the amount of time and effort you are willing to invest in this project! Just be careful not to leave your plants in water for a prolonged period of time, as they could come to believe that they are water plants.