

A Step-By-Step Guide To Repotting Your Plants: When, Why, and How?
An Introduction to Repotting
Have you ever wondered what repotting is, why it's necessary, or when to do it? We have outlined all of the information you need to know, as well as developed a step-by-step guide for you to follow, here in this article. There is no need for you to be overwhelmed with this task, as it is all a part of being a plant owner, but we want you to be as prepared as possible!
Now that the days are getting longer and warming up (slowly but surely), our plants are starting to wake up and stretch their little roots out. With these brighter spring days comes the potential plant-parental task of repotting. It is time to determine if your plant needs a soil refreshment or a larger home to fill out and support its maturing growth!
What is Repotting and Why is it Necessary?
Repotting is essentially upsizing a plant's home, giving it more room to grow and allowing for a nutrient refreshment of sorts. One of the most important reasons that repotting is essential in a plant's life is that it gives a plant, and its roots, a larger home for healthy and full growth. Some other reasons for repotting include:
Overall plant health
Your plant may be too large for its container, starting to become top-heavy, or the overall health of your plant is low (stunted or slow growth, root bound, etc.) for no other reason. We will go over these signs and more in the next section, where we discuss when it is the right time to repot!
Soil refreshment
Sometimes a plant doesn't need a larger home but rather it has used up all the nutrients that its current soil has offered, this is when you would repot the plant into the same size pot but with new soil.
Alternative medium
Maybe the drainage of the soil it's in currently doesn't benefit the roots as much as a chunkier medium would, which would offer a natural aeration as well as promoting strong roots, rather than very fine ones (this medium is most common for Aroids, or the Araceae family)
Outdoors
When moving a plant outdoors for the season, they will often grow a little quicker than they did indoors since they have the heat, light and changes between day and night temperatures. Assess the pot that they are in and if it seems as though they may need a larger home, consider repotting! This is especially important to consider if you are moving a citrus plant outdoors for the first time since owning it.
Decorative reasons
Although this may not seem as important, it is still legitimate! Maybe you are looking to keep all your decor matching, or you have a decorative pot (with drainage holes) that is a little bit bigger than the existing pot the plant is in.
Overwatering
Hopefully this does not happen to you, but the final reason for repotting would be due to overwatering. When this occurs, the plant has sat in damp soil for too long, causing the roots to rot from this excessive amount of water. You will want to remove the plant from the pot, get rid of the damp soil, trim off any rotted roots, and plant it in fresh soil. Make sure to watch your watering in the future!
Depending on the size of the plant, how actively it is growing, and the time of year, plants generally need to be repotted every one-and-a-half to two years. If you are interested to know the requirements for your specific plant, please reach out to our plant experts for additional information on when it is ideal to repot your plant!
📏
As a general rule of thumb, younger plants should be repotted roughly every 6 months to a year, and older ones will only need to be repotted every few years!
When Should You Repot?
Now that you know what repotting is and why it is beneficial, how do you know when the right time to repot is? Well, that's a great question! Thankfully, our plants often show us what they need, and when it is time to repot is no exception.
🚨
Throughout this article, all the signs discussed that indicate a plant may need to be repotted are considering the fact that they are not being caused by some other factor, such as watering, lighting, or pest issues.
Let's first start with the time of year that is ideal for repotting. It is best to repot in the early spring months, roughly March to April, although it is also ok to repot a little later as well. Plants are often dormant throughout the winter, as the days are shorter and cooler, which aren't ideal conditions for helping a plant adjust to a new potted home.
Coming out of the winter months and into the spring months, our plants are starting to wake up, leaving their dormant phase behind. The days are also getting longer, meaning there is more daylight to support actively growing roots that need to adjust to a fresh potting mix!
The following signs are the most common that a plant needs a new home:
Stunted or slow growth:
When the overall state of the plant looks quite sad and there is very slow growth or relatively unhealthy new growth, it has most likely run out of the necessary nutrients, or space, in its current home (this can include drooping foliage, pale or yellowish leaves, and smaller new growth)
Top-heavy:
This occurs when the bulk of the plant above the soil is very heavy, often causing the plant and pot to fall over
Root-bound:
If you remove the plant and soil from the pot just to see that there are a lot of roots coiled around the bottom of the soil, there are more roots than soil, or that there are quite a few roots coming out of the drainage holes of the pot
Lack of moisture retention:
When you water your plant and the water drains out extremely quickly, not actually absorbing into the soil, or the plant dries out very quickly between waterings
🚨
Avoid repotting a plant that you have just brought home. It is already using energy to adjust to its new environment (i.e. your home) and doesn't need the added stress of adjusting to a new pot as well! Hold off for a few weeks before repotting, if it is even necessary.
Although our plants can be in need of repotting once in a while, avoid an excessive amount of it. Doing it too many times can put additional stress on a plant as it is constantly adjusting to one new home after another, never getting situated enough to actually settle into a home and focus on new growth!
Also, when you are repotting, remember that the plant will be putting all its energy into forming healthy roots, not much will be going on above the soil. Once established, then it will begin to put out new growth, which is another reason why we recommend repotting in the early spring, so that you will still be able to enjoy seeing active, new growth throughout those warmer months.
Now, let's get into the dirty work!
A Step-By-Step Guide to Repotting
Step #1: Plant Preparation
Ensure the plant has been watered previously, so as to keep the soil and roots together when the plant is removed from its pot. Feel free to remove any yellowing or crisping old leaves if the plant still has some on it, giving it a little refresh!
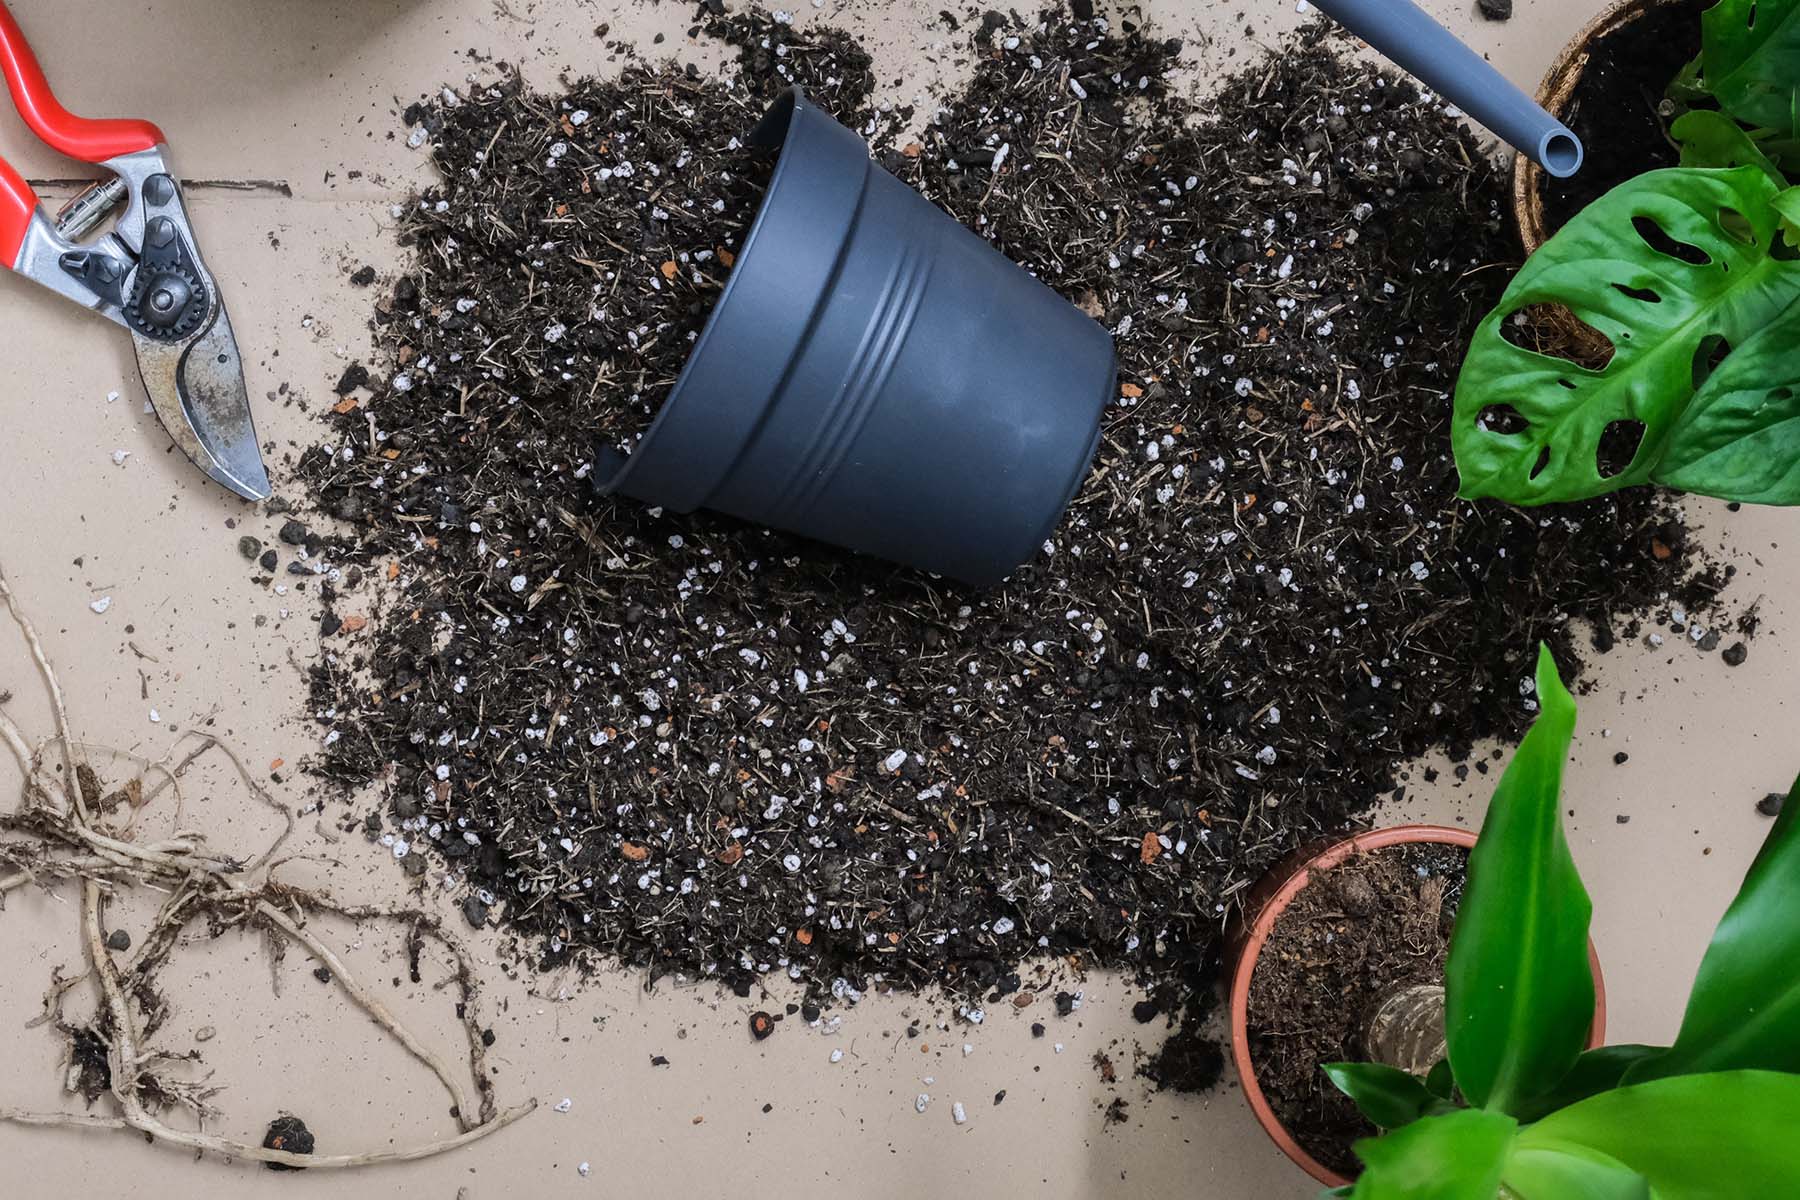
Step #2: Materials
Make sure you have everything you need set up before you start, including the following: soil medium, new pot, full watering can, clean sheers or scissors, and gloves! We also sell a gardening mat that is great for keeping any mess contained.
Step #3: Soil Selection
Generally, any indoor houseplant soil will do just fine for most plants, but you do have some other options, such as succulent soil or a chunkier soil medium for Aroid plants (this includes a mix of soil, perlite or vermiculite, orchid bark, charcoal, or other organic mediums that provide some natural aeration to the soil).
Step #4: Pot Selection
Go up one pot size at a time (i.e. from a 4" pot to a 6" pot, a 6" pot to an 8" pot, etc.). Picking a pot much larger than the original will increase the chances of overwatering since your plant will be sitting in an excess amount of wet soil. Ensure there is sufficient drainage in the chosen pot, either a decorative pot with drainage or a nursery pot with drainage inside of a decorative pot.
Step #5: Pot Preparation
Line the inside of the base of the pot with a coffee filter or dryer sheet, this will stop any soil from spilling out of it as you fill it up (if you are using a nursery pot, you can skip this step if you feel there won't be too much spillage). Place some fresh soil at the bottom of the lined pot, enough so that when the plant is sitting on it, the soil line reaches about half an inch below the rim of the pot. This initial soil will be the space in which new roots will form!
🌱
If you choose a terracotta pot, soak it ahead of time as they are very porous and absorb moisture, allowing water to pass through the walls. This promotes healthy plants by allowing airflow and avoiding overwatering issues but it does cause the soil to dry out faster. Soaking it previously won't take away any of the moisture you'll be giving your freshly potted plant.
Step #6: Plant Removal
Remove the plant from its current pot by placing your hand over the top of the pot, turning it upside down, and gently tugging at the base of the plant. If it doesn't come out easily, consider tapping the sides of the pot or running a knife along the inside of the pot to loosen it. Massage the root ball gently to loosen the roots up so as to make it easier for them to acclimate to the fresh soil.
🌱
You can also look over the roots at this time to see if there are any that need to be pruned! There may be old, dried up or rotted roots that could use a quick clean. Make sure to only use clean sheers for this step so as to avoid any bacteria transfer.
Step #7: Planting
Place your plant so that it is upright and centred in its new pot, filling in the sides of the pot with fresh soil! Try not to pack the soil in too densely as you want to allow some air for the roots to breathe. If it is being potted in a plastic nursery pot, gently tap the sides of the pot to loosen up the soil after packing it in.
Step #8: Water Thoroughly
Water your plant thoroughly until there is water coming out of the drainage holes, then dump any excess water! This will help the soils mix together and add some fresh moisture to your plant. Do NOT fertilize at this point, as this can burn the new root growth.
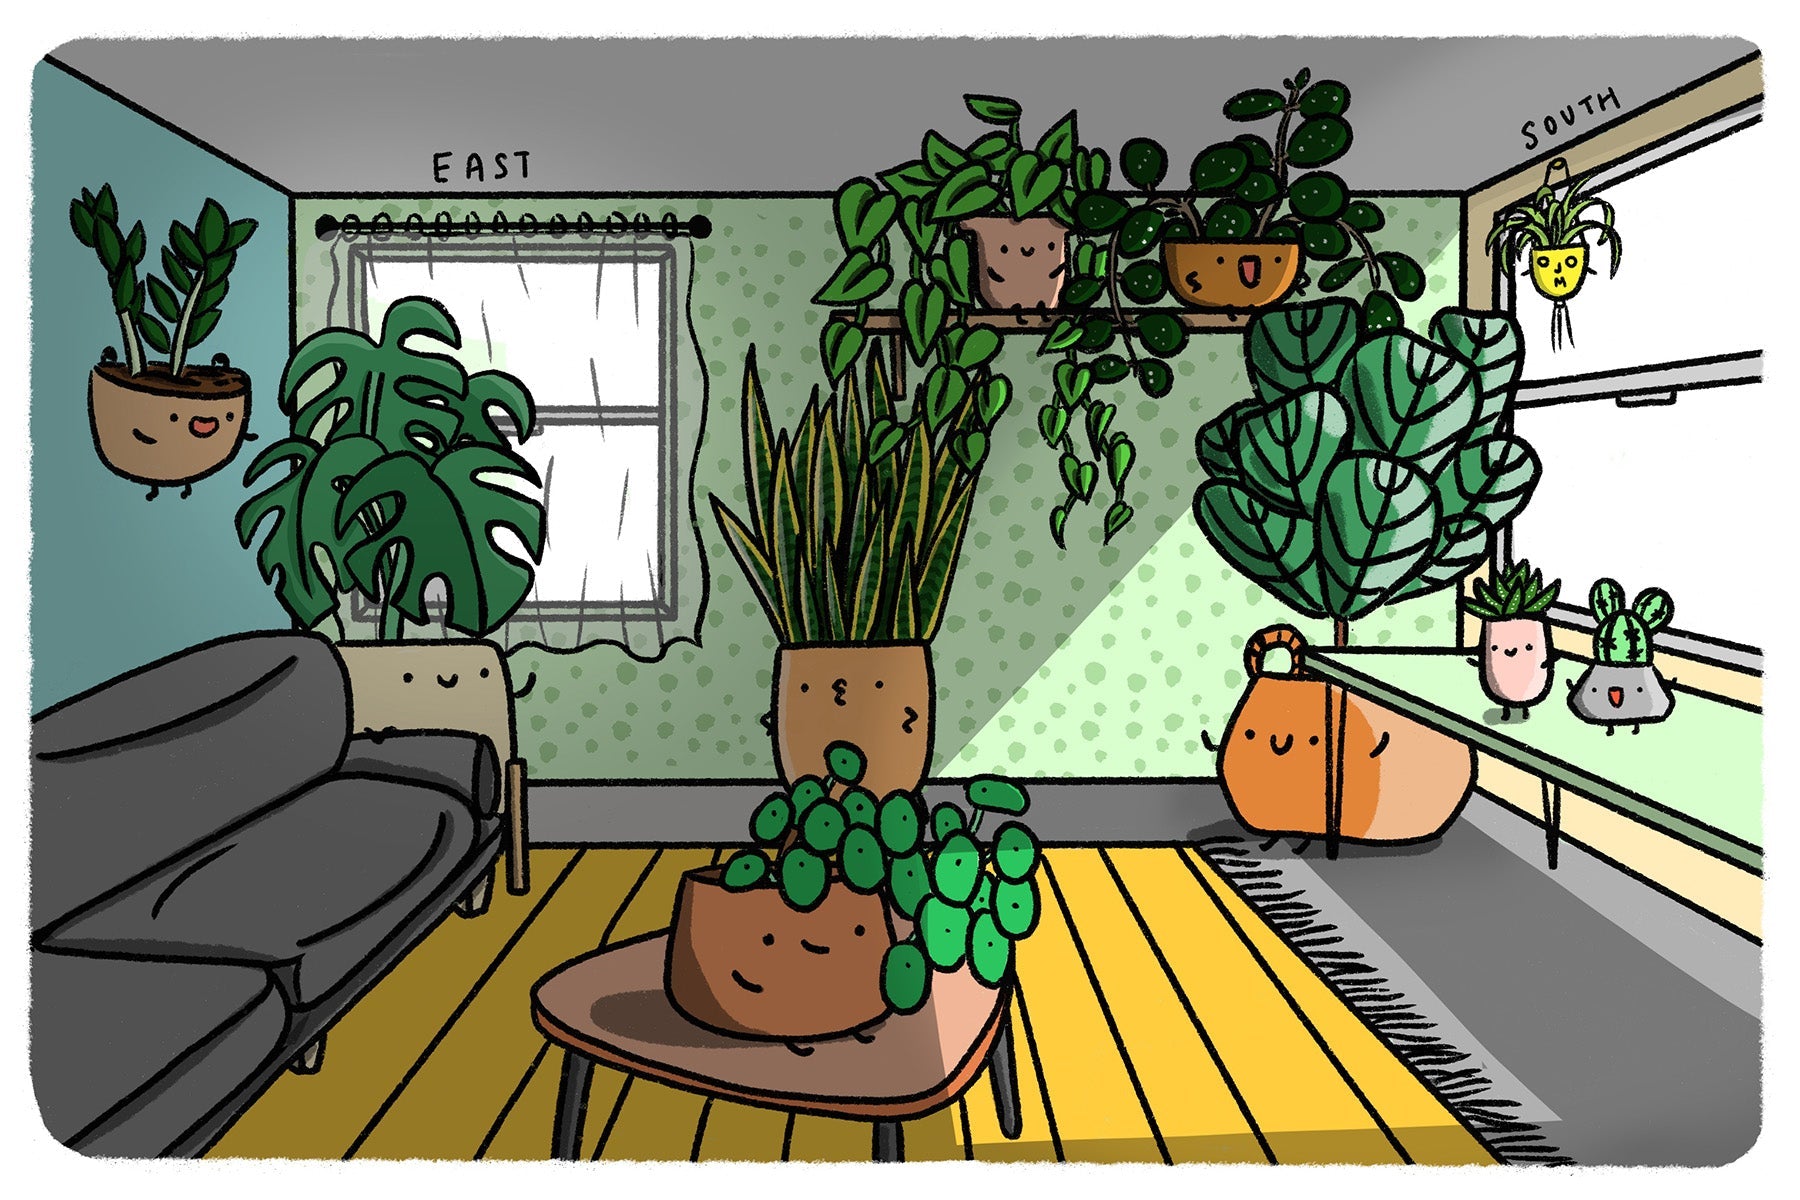
Step #9: Light Requirements & Placement
Avoid prolonged exposure to direct sun for a couple of weeks after repotting, until the roots take hold, as they are more sensitive during this time. Some morning sun or a little late afternoon sun is fine, but it would be best to keep it in very bright, indirect light.
Step #10: Enjoy!
Now sit back and watch your plant thrive in its new home! Remember that there will be some period of adjustment, while the plant is focusing on growing healthy roots in its new home, so you won't see much going on above soil for the first little while. But be patient, that fresh new growth is coming.