

When & How to Transition Your Plants Back Indoors
It's that time of the year, where we have to start thinking about bringing our houseplants back inside for the long, cold, winter season after a luxurious summer spent outdoors, if that is where you have kept your plants of course. Indoor plants truly benefit from being outdoors during the warmer months, there is a lot more light, heat, and humidity, all of which tropical plants love. However, like in most areas of life, all good things must come to an end, but it's not as simple as moving them from one spot to another and leaving it at that. To figure out when and how to move your plants inside, please keep on reading!
☀️
If you are interested in reading more about keeping your plants outdoors during the summer months, and why it is so beneficial to them, please see our When & How to Transition Your Plants Outdoors for the Summer guide.
When to Transition Your Plants Indoors
During the first few weeks of September, before the nights start to dip below 10 °C, it is best to start to think about and plan around bringing your plants back indoors. Most houseplants cannot stand temperatures below 7 °C, but we don't want to tempt fate now do we. Why is it important to begin a little early? Well, when bringing plants back inside after living in the bright outdoors all summer, it is very important that they go through a transitional period rather than just jumping from one environment to a completely different one so suddenly. Since it can take some time for them to adjust, we still want to do it when there are relatively warm temperatures outside, giving us the time to acclimate them indoors again. It also allows us to go through the necessary measures outdoors, such as repotting, cleaning, etc., keeping the mess outside.
❄️
A good rule of thumb for when to bring houseplants in for the winter season is at least two weeks before the average last frost date.
How to Transition Your Plants Indoors
When transitioning our plants indoors, it is important to take a few precautions into consideration before doing so, as well as making sure some key steps are followed in the process. Without these steps, your plants will most certainly experience some form of shock, which will be shown through excessive leaf drop, potential dieback, or wilting after such sudden changes. Because the conditions of our homes differ widely from the conditions outside, a gradual reintroduction for bringing our plants indoors is best.
Here are the key steps we recommend following, as well as a few additional tips and tricks along the way, making sure to keep the process as seamless as possible while keeping our plants as happy as possible:
1. Prep Work
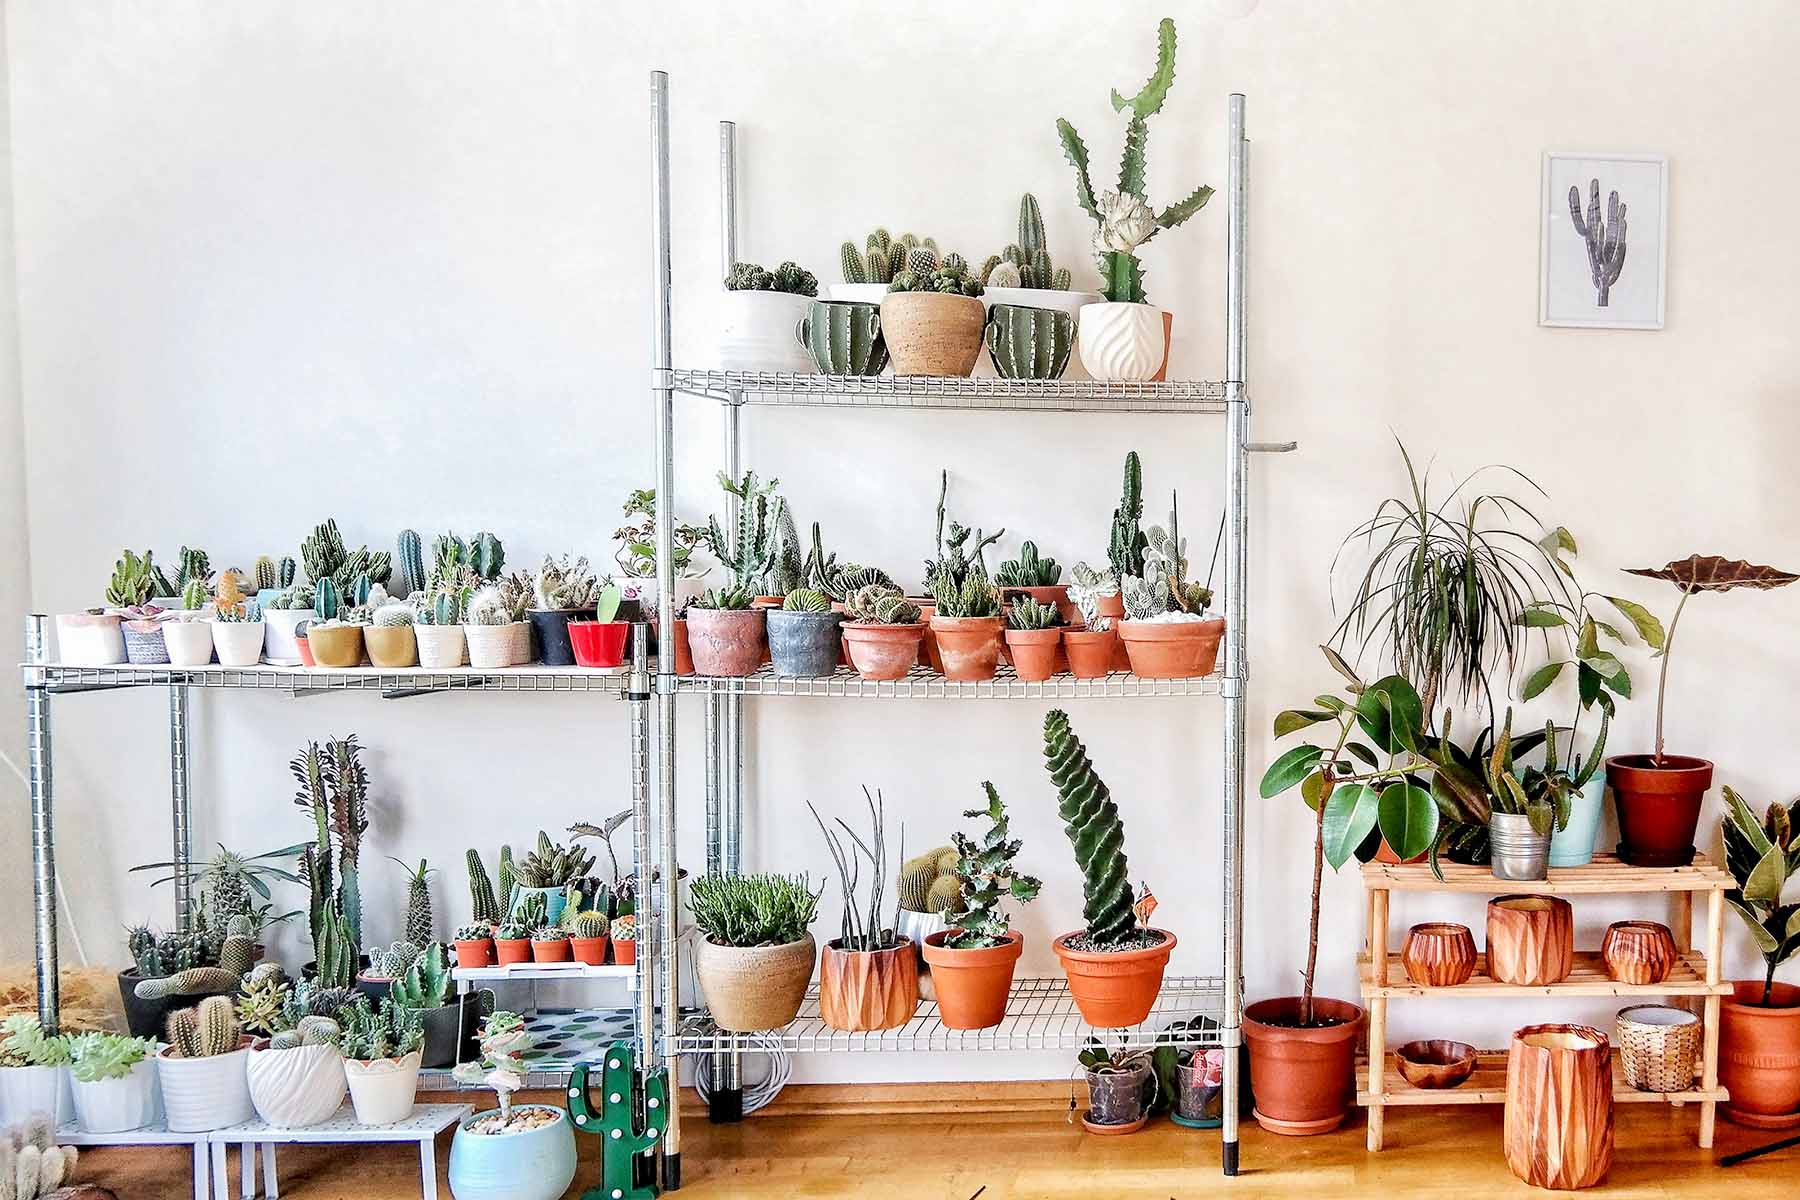
Before making any moves, it is best to ensure your indoor space is ready, because some changes could have occurred since the plants were last indoors. Maybe you didn't put all of them outside, maybe you purchased new plants (we wouldn't blame you!), or maybe you could organize space more effectively. Take inventory of your plant stands, saucers, pots, shelves, hooks, grow lights, etc. to make sure you have everything you need.
🪟
Although not completely necessary, it is recommended that you clean your windows, both inside and outside, making sure they are letting in the maximum light levels. Doing so before bringing in your plants would make for the least effort, so that they aren't cluttering your work space!
2. Treating for Pests
Regardless of whether or not you think your plants have pests, it is strongly recommended that you inspect and treat them for any hitchhikers that may have set up shop. These pests could include, but are not limited to, spider mites, mealybugs, scale, snails, slugs, millepedes, spiders, or earwigs. The following check list should be completed:
Pest Tip: It is ideal to complete this task list before bringing your plants indoors since you can keep the majority of the mess outside and you'll generally have better access to water, easily hosing them off.
- Check both the tops and bottoms of leaves, as well as stems, for any signs of pest activity
- Wipe down the leaves and stems with a mixture of mild dish soap and water (make sure it is mild soap, something like Dr. Bronner's).
- Once that is dry, shower off your plants with a hose to do a last minute blast, ridding the plant of any pesky adult bugs
- Again, after this water has dried, treat your plants completely with either an insecticidal soap spray, such as Safer's Soap, or a Neem oil mix, which is an organic insecticide diluted with water that repels insects due to the smell and kills them if consumed. Make sure to treat a few leaves and see how the plant handles any spray first.
- As for the soil, prepare a bucket of lukewarm water, mixed with some mild soap (same as above), place the whole pot, with the plant and soil still in it, and let it soak for about 15 minutes. Allow all of the water to drain before moving indoors. This process achieves two steps in one: ridding your plants of pests and giving the soil one last solid soak before going indoors.
Pest Tip: If worms, millipedes, snails, or other bugs have burrowed into the soil, consider repotting your plants and placing a piece of wire screening over the drainage hole to keep them out next year
- If you don't soak the whole pot and soil, you may have to repot the plant into fresh soil and you should definitely wash off the pot
The above steps should achieve the greatest pest reduction, you could also apply the insecticidal spray twice before bringing your plants indoors, just to be safe. Then, after the plants are inside, we still advise checking your plants regularly throughout the winter and performing preventative measures, treating a few times with sprays, to stay on top of any infestations.
‼️
If pests are not priorly removed, they can spread rapidly in a short period of time indoors and infest the rest of your plants. Some bugs, like mealybugs, are especially tricky because they can live for several months without a host plant, and hide in tiny cracks and crevices.
3. Repotting & Pruning
This step may not be necessary, but there will most likely be at least one plant kept outdoors that you will have to repot or prune. Since conditions are spectacular outside in the warmer months, this is completely natural!
Pruning - If any plants have gotten leggy, or stretched out, over the summer, it would be best to prune them back by trimming the stretched out growth, but also trimming the roots in equal proportions. This is necessary to keep the plant happy in its current home, as it may need to be potted into a larger pot if there is an excessive amount of roots. Some popular plants to prune would be: Pothos, Philodendron, Tradescantia, Polka Dot Plants, Nerve Plants, Citrus, and more.
✂️
Make sure to never prune back more than one third of a plant at a time! Removing any spent leaves as well.
Repotting - If any of your plants have grown significantly, with roots coming out of the drainage holes or stunted growth, it could be beneficial to repot. Even though it is generally better to repot during spring/early - mid summer, now is just as good a time as any if your plant is significantly overgrown, but don't hold off for too much longer. To know when and how to do so, please see our Step-by-Step Repotting Guide.
🪴
This is also suggested to do if you sense there are millipedes, potato bugs, or earwigs in the soil, replacing just the soil, without repotting into a larger pot. Even if you just want to refresh the soil, doing so before bringing your plants inside is the best time!
4. Acclimation Period
If you don't transition your plants over the course of a few weeks, the shock of the sudden change could be even more extreme. Some leaf drop should be expected, which is only natural with a big shift in the environment, but excessive drop should be concerning, especially for more sensitive species.
Lighting is the biggest change, above any other change as there will now only be light coming in through generally one window. Start by bringing the plants in overnight for the first few days, bringing them in for the evening and then putting them outside in the morning again. Over the course of two weeks, keep your plant indoors more and more until it is in the location you wish it to be for the winter. Expose plants gradually to reduced lighting, if they've been in bright light, new leaves should begin to form as the plant adapts. Make sure plants are receiving the light they need according to species!
📋
If you would like to know more information, please refer to our plant product pages or check out our plant-specific care guides. Our Indoor Lighting Guide is another great resource to have on hand.
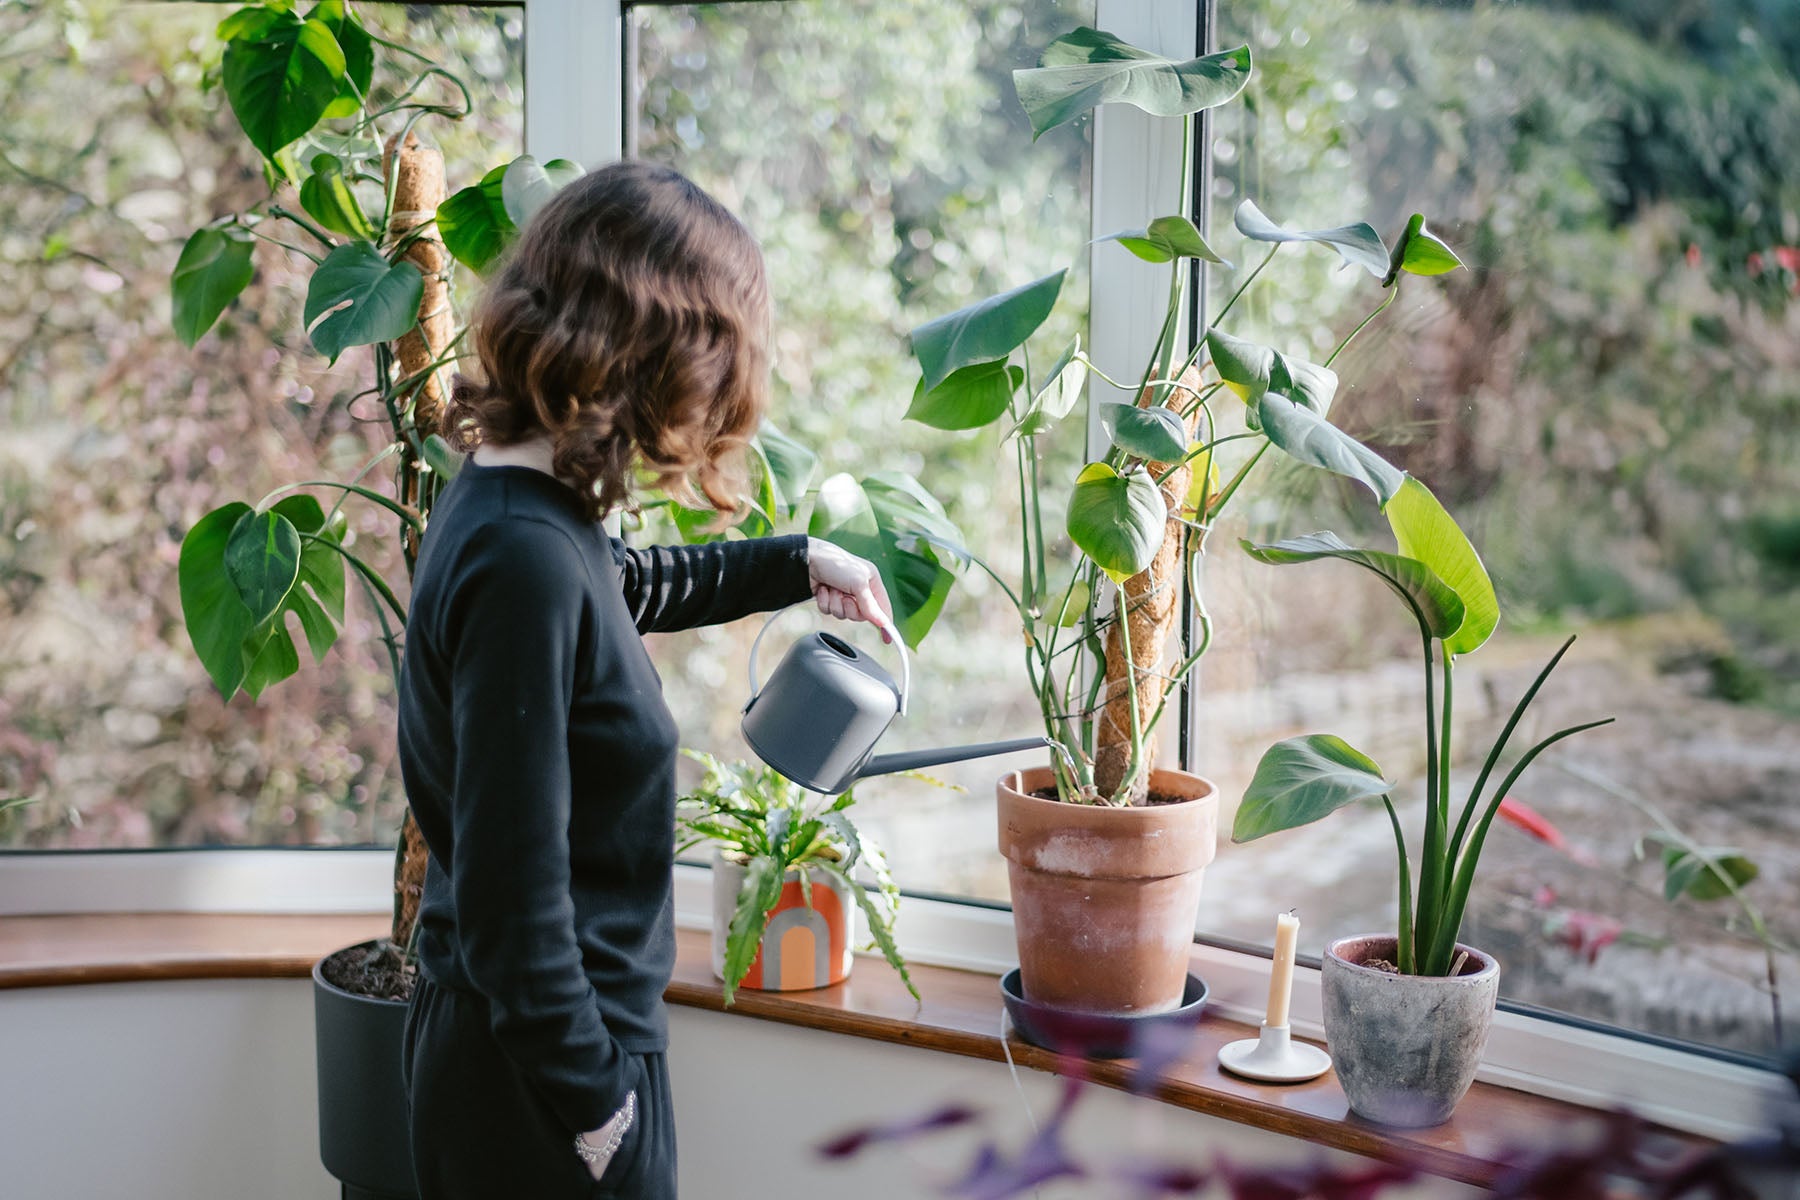
When it comes to watering, plants indoors won't need as much water as they do outside. Growth slows, light levels are lower, temperatures are cooler, and periods of dormancy are entered, meaning less water is necessary. During the winter, if in doubt, don't water. Check out what your plants need and keep an eye especially on those varieties that need their soil to fully dry out, such as Snake Plants, ZZ Plants, Succulents, etc. Our Watering Guide will come in handy here!
🥕
Fertilize your plants one more time before they head inside and then hold off for the rest of the winter.
The final portion of the acclimation period will be due to the lower humidity and poor air circulation. As temperatures start to fall, heating increases indoors, drying the air out inside your home. Many houseplants require extra humidity to keep their leaf tips from turning yellow or brown, or from curling. To provide additional humidity, the following measures can be implemented:
- Misting: Spray your plants with lukewarm water daily, if not 2-3 times daily, to increase the humidity around the plant. This will only add to the humidity levels for a short period of time.
- Pebble tray: Gravel-filled dishes or containers that you fill with water to just at the top of the gravel line, increasing the ambient humidity around the plant.
- Grouping: Group plants together of similar humidity needs, creating a microclimate that will be mutually beneficial.
- Humidifier: Finally, if all else fails, invest in a humidifier to keep in the room, raising the humidity for all the plants in that room!
Plant Tip: if you are lacking in space, but still love one of your plants just not its size, take cuttings of the plant and keep those indoors over the winter, or root them in soil beforehand, just make sure that cuttings are possible for the species and are done properly.
Overwintering
If your plant is one that has bulbs, tubers, or corms (i.e. Caladium, Oxalis, Alocasia, etc.), consider taking the pots and cutting them back fully, or removing them from the soil and overwintering them. Check out the information for each plant specifically before doing so, as the wrong treatment could result in dead bulbs by the time the winter is over. If you're wondering why you should do this, some plants require it to live long and healthy lives, but it is also a space-saver, where you don't need to save your precious bright light locations during the winter months for these particular plants, giving it to another plant instead. Pot them up in the spring again, about a month before you want to put them outside for a jump on the season. To read more about propagating and preserving bulbous plants, check out our Propagation - Division guide!
Now, all of this information is just about how to transition your plants indoors, but plants will also need to have their care regime adjusted during the cooler months as well. To learn more about caring for your houseplants inside during the winter, please see our How to Care for Your Plants in the Winter blog for further information.