

Propagation 103: How to Propagate through Division
In This Series
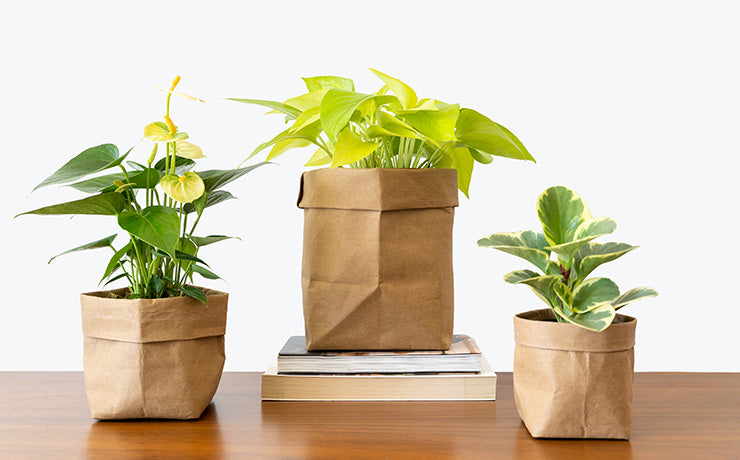
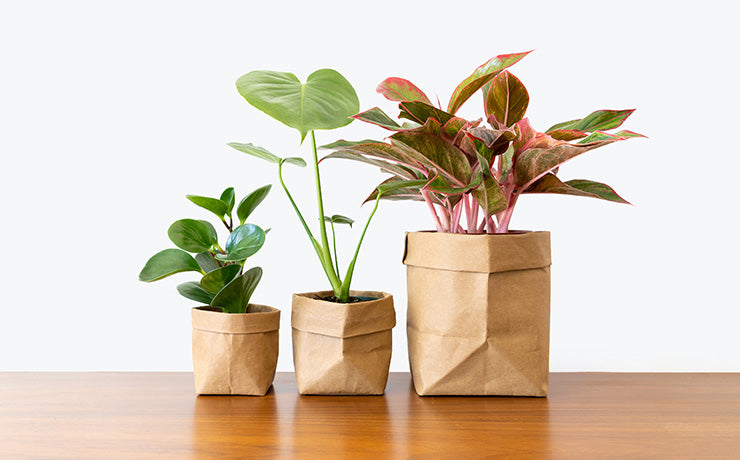
Propagating through division is exactly what you think it is, dividing up one or more vegetative parts of a whole plant into multiple plants - sometimes giving you an instant new plant! This method is especially common on plants that produce offsets, bulbs, tubers, or rhizomes, such as Snake Plants, ZZ Plants, Pilea, Alocasia, Spider Plants, Peace Lilies, Aloe, and more. Root division is another form of this method, it is just very simple, where you separate clumps of plants into new pots along with a chunk of their roots as well, but we go over this method further below. Really, any plant can be divided up into more plants in this way, but some are more capable than others.
What You Will Need
Let's outline what tools and materials you may need throughout this process (some are necessary, some are "nice-to-haves"):
A plant:
Obviously, you will need a plant to propagate! So select the healthy plant you would like to use - although lots of plants can be propagated, some are more successful than others, so the plant of choice will depend on that as well as the propagation method.
Tool of choice:
Sterilized scissors, or clippers - clean tools (done using diluted bleach or rubbing alcohol) will reduce the risk of transmitting diseases or pests between plants.
Potting medium:
You will need your preferred medium, this could be a chunky soil mix, like our Aroid Mix, a regular Potting Mix, Sphagnum Moss, vermiculite, perlite, orchid bark, water, etc. It will all depend on what you prefer or on the plant that you have chosen to propagate, but we will expand on this later on. Avoid garden soil as this is much too dense!
Potting materials:
Have some nursery pots or shallow plastic trays (all with drainage holes) ready for your propagations to be planted into. Generally, your cuttings will not yet have roots, so you do not need much potting media to start with (this will also reduce the chance of rot). If you are putting your cuttings in water, have a glass cup or jar on hand.
Other materials:
Some other materials to have on hand would be: a watering can, a potting mat, gloves, a spray bottle to mist the cuttings as they grow, and rainwater, distilled water, or tap water that has sat out overnight to use to water your cuttings.
"Nice-to-have" materials:
Although the following materials aren't necessary, they can encourage roots to form faster than they normally would: rooting hormone (we outline how to use it throughout the processes below), grow lights (to increase the light levels), and heating mats (keeping the plants and their new roots warm is important).
Plantlet & Offset Division
This is the first method of division that you may have experienced - dividing up a plant using the offshoots or plantlets that it produces, the way a Spider Plant, Air Plant, Aloe, Haworthia, Echeveria or Pilea might do. These offsets, or suckers, are usually smaller and around the base of the mother plant, produced as the mother plant grows, especially if a plant is in bright, indirect light. If your plant hasn't produced any little babies yet, it may still be in its immature stages or not receiving enough light. Adjust the positioning of your plant and give it some time to grow.
🕸
Spider Plants are rather unique where they actually produce baby spider plants on their flowering stems, which can grow to stay on the mother plant or can be separated once they reach a decent size to become their own plant in their own pot! They even grow their own system of air roots while forming off of the parent plant. You can see even more information about these little spiderettes in our Spider Plant Care Guide.
To separate and root these offsets into their own pots, with your potting medium of choice depending on the plant you are potting up, the following steps are the general guideline to follow, with some different options mentioned throughout:
Step 1: Identification of Offsets
Generally, the offsets will be around the base of the mother plant, growing off and receiving their nutrients from it. Make sure they are of a suitable size where they will fit and survive in the pot that you are planting them into.
Step 2: Removal of Offsets
Remove the mother plant from its pot and gently tap off all of the soil so that the roots are exposed. Separate the little babies from the larger plant carefully, untangling any roots that are intertwined gradually. Try to keep as many roots as possible for each section, making sure all parts are left with a decent root system. If they don't come apart naturally, don't be afraid to use a clean knife or clippers to help them off.
Step 3: Planting of Offsets & Mother Plant
Repot the mother plant back into its original pot with fresh soil, similar to the soil it had been in previously, making sure the roots are buried and the plant is nestled against the soil but not underneath it, just as it was before. Do the same with the offshoots that you have just removed, remembering to plant them in a pot that is appropriate to their size.
Even though Spider Plants and Air Plants can also be separated via their offsets, these will be produced above the soil, not in the soil (although Spider Plants can also be divided up by root division, but more on that later). So they won't have to have the whole plant removed from the soil, just pop them off carefully and gently when they are a suitable size and plant the spiderettes into their own pot, or add them back into the pot with the mother plant to make it even fuller!
Root Division
This method is just as it sounds - separating plants via their roots and planting them into new pots. Essentially, any plant can be divided up by root division, some are just stronger for this method than others, where too much disruption of their root system can do more damage than good. As always, make sure a healthy plant is chosen for this with some sort of root system, because, just like repotting a stressed plant is not so great for their health, dividing them up will have the same effect - unless this is your last effort to save your plant from issues such as root rot, improper soil, etc.
Despite it being rather self-explanatory, below are the steps to follow to achieve new, happy, healthy plants:
Step 1: Identification of Sections
In the parent plant, look for crowns, or clumps of plant sections, that can be separated. Each crown will have its own root ball when separated, producing an instant new plant for you to share or keep in your collection!
Step 2: Separation of Sections
Remove the plant from its pot and loosen up the soil enough so that the crown(s) that you would like to separate can be taken off. Keep as many healthy roots on each section as possible, gently trimming with clippers if they don't come apart easily.
Step 3: Planting of Sections
Repot the mother plant back into its original pot with fresh soil, making sure the roots are buried under the soil and the plant is nestled against the soil but not underneath it, just as it was before. Do the same with the offshoots that you have just removed, remembering to plant them in a pot that is appropriate to their size.
This is a great method to expand your plant collection for free. It is also a great tool to implement if one of your plants has gotten too big and you don't have the space to repot it into a bigger pot, performing root division will keep it a manageable size while also providing you with a new plant.
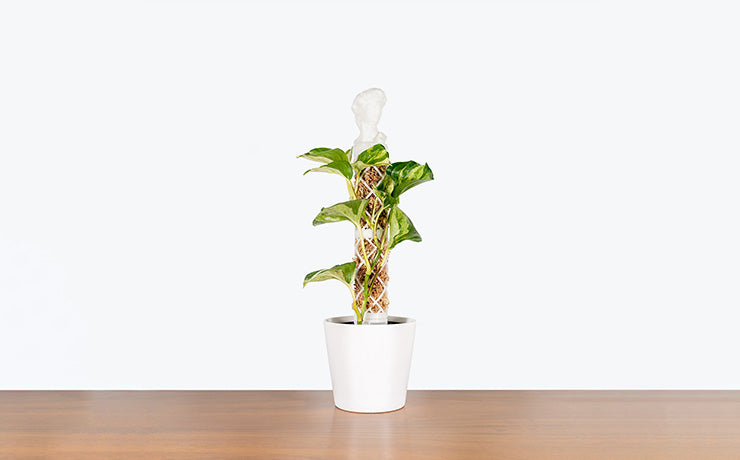
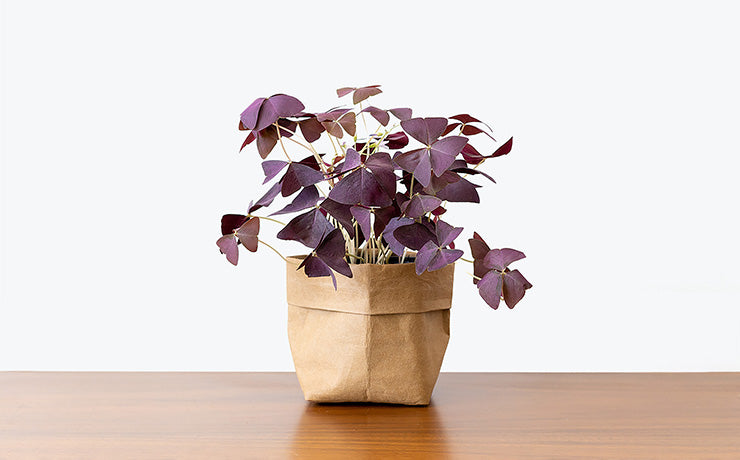
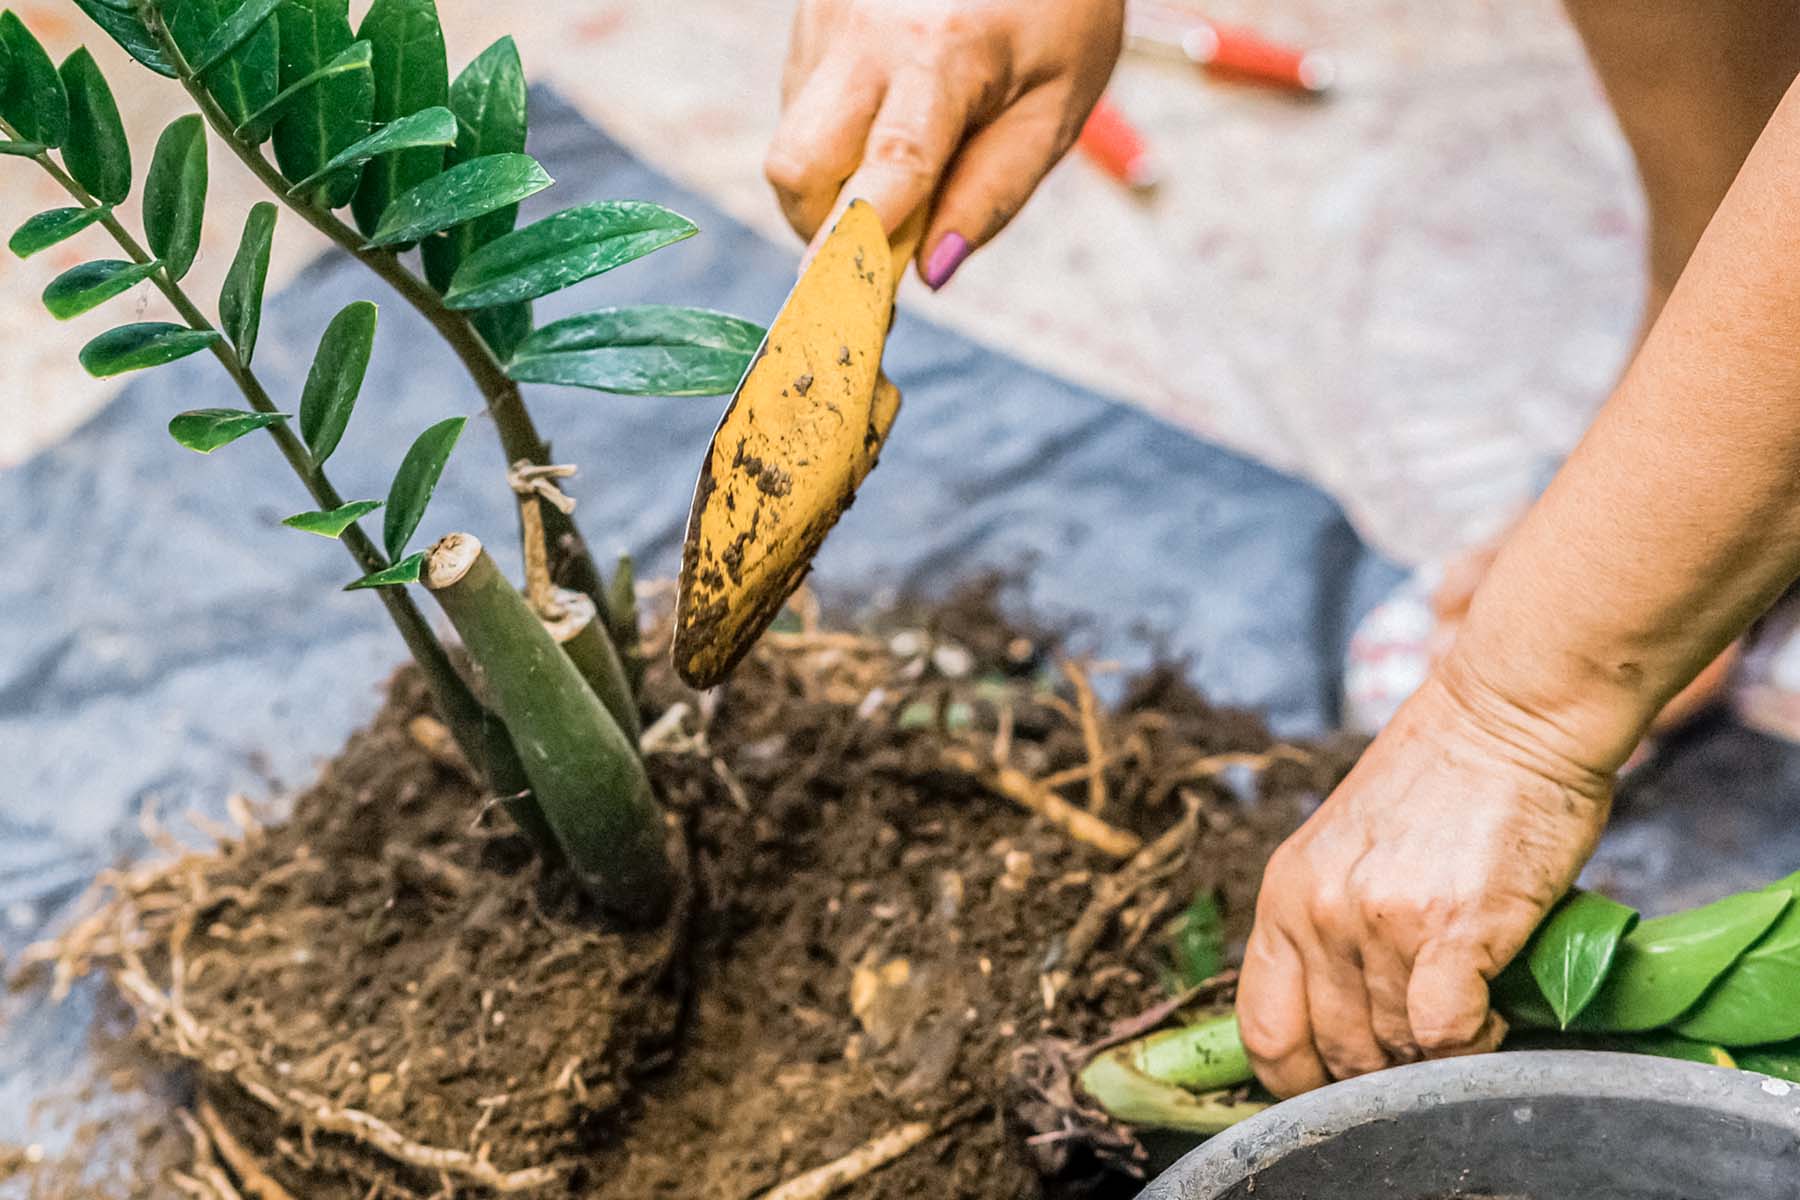
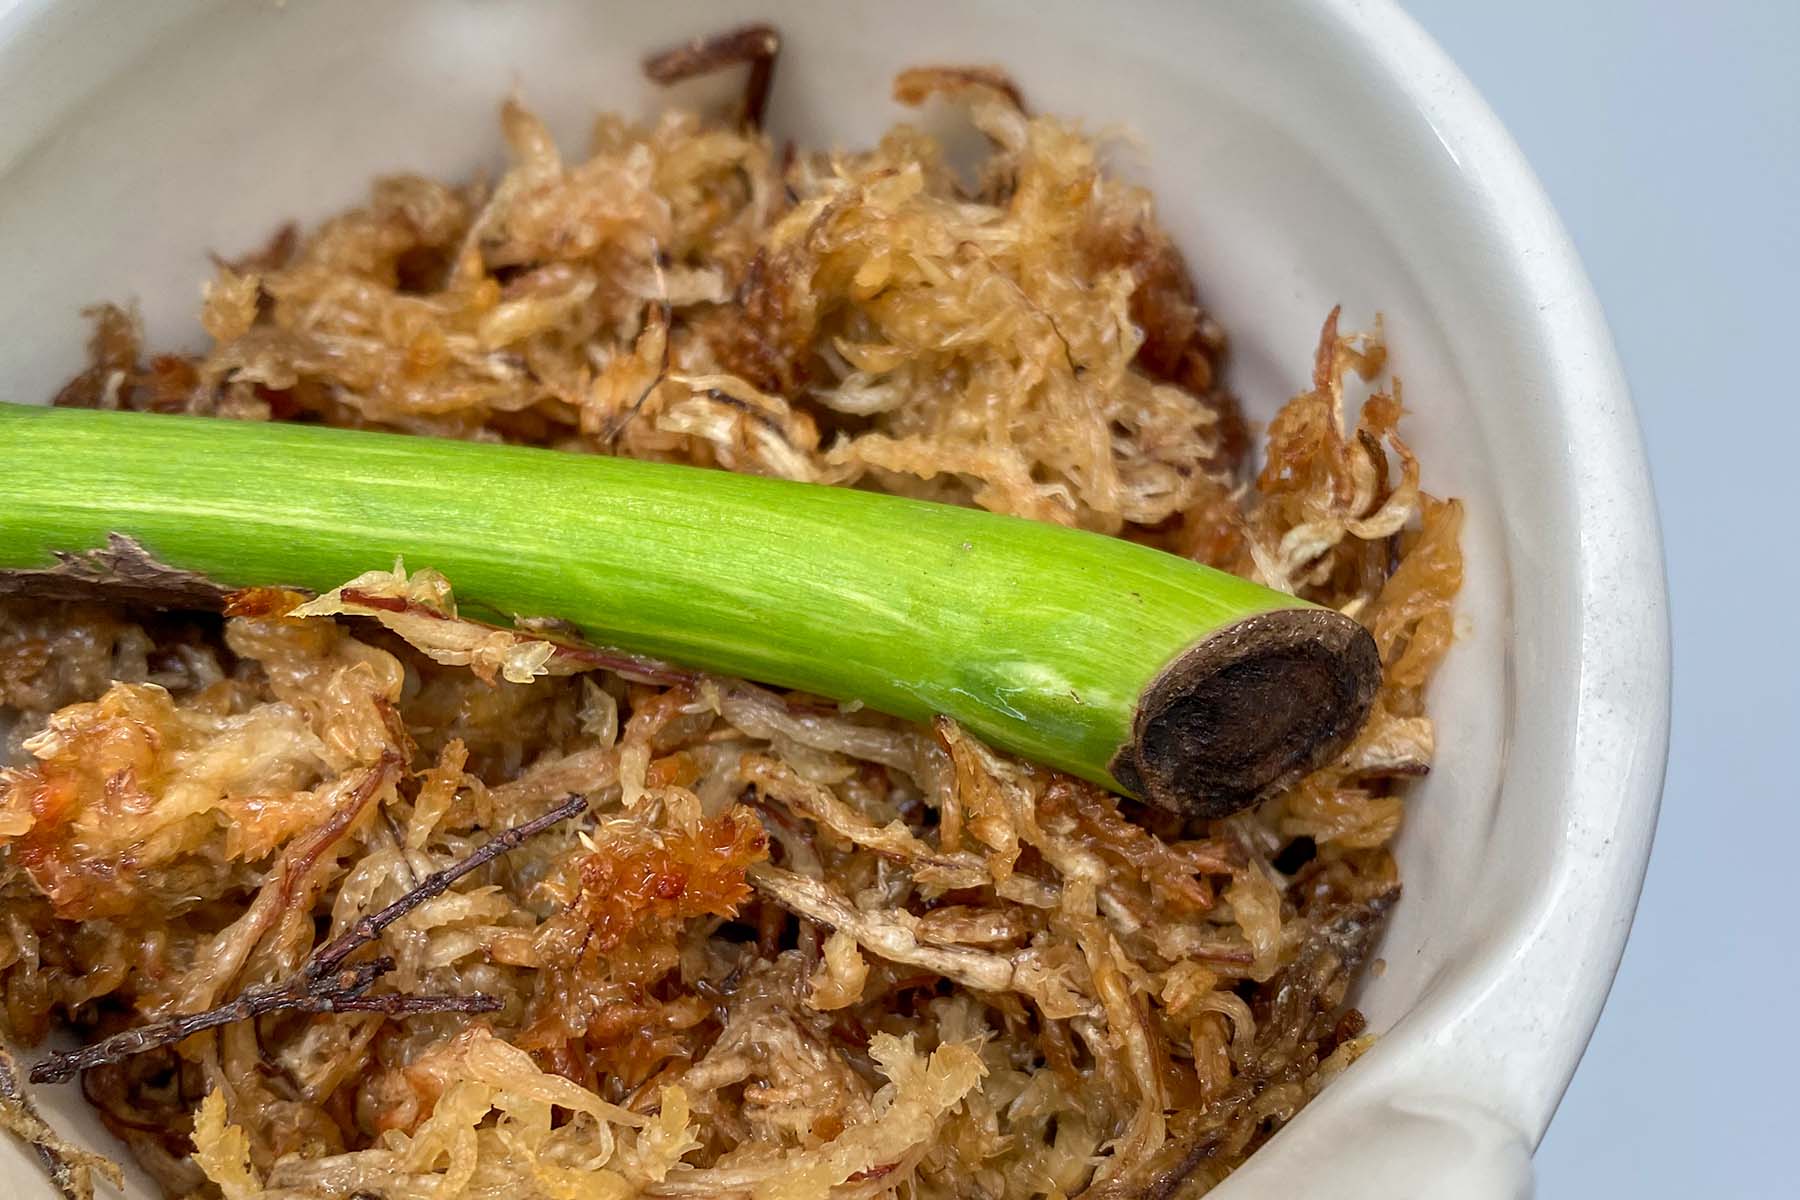
Rhizome & Tuber Division
Certain houseplants, such as Sansevierias, ZZ Plants, Alocasias, Oxalis, Peace Lilies, and more, have slightly more complex root systems than others. The plants in this category produce either rhizomes, tubers, corms or bulbs, along with finer roots underneath the soil as well. So, what are these new terms we have mentioned here? Let's expand below:
Rhizomes:
Also called creeping rootstalks, these are thick, modified stems that run horizontally underground, striking out new roots down into the soil and new stems up above the surface from their nodes. They store starches and proteins, enabling plants to survive unfavourable conditions, such as long periods of drought, lower light, and more. These also make the plant an aggressive spreader.
To propagate, remove the mother plant from its container, and tug gingerly to encourage the rhizomes to separate (even if they are already producing baby plants). Use a knife to cut the rhizomes if the tugging doesn't work. Then, plant these cuttings into a new pot with fresh soil and care for them as we outline below!
🪴
ZZ Plants and Snake Plants are the more common houseplants that produce rhizomes. Ginger root is a common household reference as well!
Tubers:
Yet another type of thick, swollen stem, they tend to grow just beneath the surface of the soil of the plants that reproduce via tubers. The outside of their skin tends to be leathery and they have "eyes", or growth nodes, from which new plants grow.
Propagate tuberous plants by dividing the tubers in spring before potting them up. Cut the tuber into pieces that contain at least one eye, allowing the cut pieces to dry and callous over for a few days before planting.
🌈
Caladiums are a typical example of houseplants that reproduce in this way. Potatoes and sweet potatoes are common household references.
Bulbs:
Bulbs are round, almost teardrop-shaped growths with a basal plate along the base, from which the roots form, and a pointy side on the top, from which the plant grows from. They multiply by producing new bulbs from the base of the old bulb, which can be separated.
To propagate, they should be planted upright, with the pointed end facing towards the sky, and at the recommended planting depth for that particular variety. In most cases, a bulb should be planted about three times as deep as the bulb's greatest diameter. Some bulbs, such as those for Ledebouria plants, should be potted with 1/3 - 1/2 of the bulb sticking outside of the soil. Be sure to check the recommendations for the plant that you are propagating!
🌸
Alocasias are typical examples of houseplants that produce new shoots this way. It should be no surprise that onions are a common household food that is actually the bulb of a plant!
Corms:
These also have a basal plate, but are flatter and not layered like a bulb. While they may be a solid unit, they are covered by a thin, papery “tunic” just like bulbs. When a corm gets too old it will produce new corms, and you will sometimes be able to see the dried-up old corms sticking to the newer corms.
To propagate, dig the corms out of the soil and separate them if there are multiples attached to each other. Plant them in fresh soil just below the surface, with the root portion aiming downwards and the growing side pointed up. Water them accordingly and place them in bright, indirect light.
🍀
Oxalis are examples of houseplants that grow via corms.
During the cooler months, it is common for plants that grow from tubers, corms, or bulbs to die back for the season, going through a period of dormancy. This is why it is especially important to start your plants in the warmer months. That being said, you can do one of two things:
- Remove the bulbs, tubers, or corms from the soil and keep them in a paper bag in a dark, cool spot for the winter months, or
- Keep them in their soil and pots, stop watering, and place them in a darker, cooler location (feel free to remove the remaining foliage).
Then, in either case, when spring rolls around again, pot them up into fresh potting soil, water them, and place them in bright, indirect light! Try not to keep them out of the soil for too long, as it can cause them to whither and dry up. This method of storing certain plants is most often done with Caladiums, Oxalis, and some other bulbous houseplants. Other varieties may just stop growing altogether, but they still want to be in bright light.