

Article: So You Have a New Plant Baby
So You Have a New Plant Baby
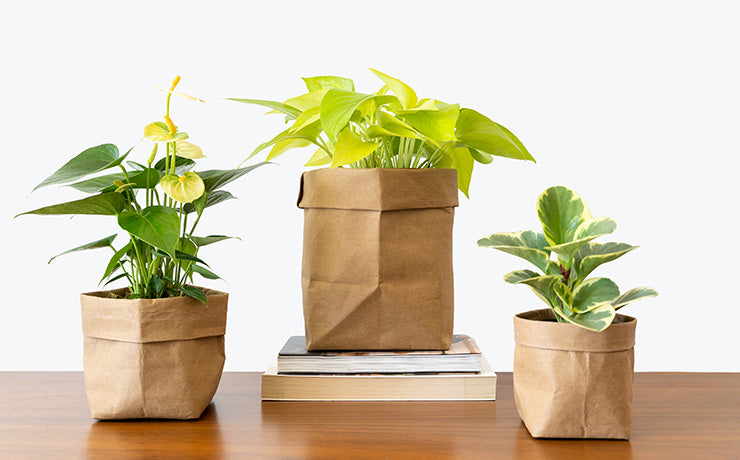
Congratulations on your new plant baby! Now what?
Here is a guide to keep your plant healthy and thriving, along with the other plants you may already have at home. If you have questions that are not covered in this guide, remember that you have lifetime support with your plant via help@jomostudio.com or Instagram @jomostudio.
1. Isolating Your Plant
It is recommended to isolate your new plant from your current plant babies for some time, about two weeks. This will allow you to assess the health of the plant. Before your new plant is packed up for delivery, we do inspect it for visible signs of pest infestation. However, this can be tricky as we get plants delivered weekly and most plants leave our studio quickly. When the plant is in motion, from being shipped in from other parts of the world, it can be hard to see pests that have nestled away deep down in the soil waiting for the plant to settle down before resurfacing. Additionally, any sprays used at the nursery and our studio have a topical application and do not work well on pests that are within the soil or on buried eggs. And sometimes smaller pests simply hide very well and our eyes miss them as we pack orders for that day.
It is always exciting getting a new plant and placing it with the others, but isolating for a while is ideal for any new plant you bring into your home, no matter where you get it from. So it is always best to keep them a metre or two away from other plants until the plant has settled and acclimates to your home and any uninvited guests can be seen and treated — before they move into your other plants and overstay their welcome.
Learn more about pest management.
2. Acclimating Your Plant
Each plant has had a journey getting to you, and it may take a few weeks for them to settle into the new space they find themselves. During this period, you may have to change their location in your home for different light or humidity, change the typical watering routine, and might have to deal with drooping or even dropping leaves. These are normal and can be expected from a plant that recently left a near-perfect environment in the greenhouse. Both you and your plant will find balance with a bit of time and the plant will continue to bring you joy for years to come.
3. Watering Your Plant
The plant you get from JOMO Studio may need watering on the day you receive them, but it is always best to check the watering recommendation for the plant on JOMO Studio's website under that plant's page. There it will tell you what you should be looking for when it comes to dryness, moisture preferences, and the signs to know when to water. Generally speaking, if the plant appears to be limp and the leaves and stems soft and the soil is dry, it may be needing water after travelling to get to your home. The exceptions are snake plants and ZZs. These two plant types like to dry out completely before being watered again.
When it is time to water your plant, if the plant is in the nursery pot, take your plant over to the sink and let room temperature water flow through the soil until you see it come out the bottom drainage holes. To make sure the entire soil ball absorbed water, instead of just flowing down the sides of the pot then promptly exiting, flow the water through two times. Let the excess water drip out before placing your plant back into the outer pot.
A great tip is to fill up your watering can the day before you do your watering and let it sit at room temperature overnight before using it. This will allow many of the harmless (to humans) additives to evaporate from the water, helping the plant get a purer form of water. Additives like fluoride, ammonia, phosphoric acid and chlorine commonly found in tap water are hard for the plant to process and often get pushed to the tips of the leaves causing them to brown or yellow.
For those plants that like to dry out before watering, like a snake plant or ZZ, bottom watering may be best, as that will allow the soil time to slowly absorb the water as the hardened soil softens. Bottom watering is simply filling up a bowl or saucer with water and placing the nursery pot into it and letting the water soak up from the bottom holes in the nursery pot. Once the top layer of the soil is moist, from the water sponging up, you can remove the plant from the bowl and let the excess water drip out before returning it to the outer pot.
Learn more about house plant watering.
4. Light and What it Means
Selecting a plant based on the light the space offers is critical — as light is food for the plant. Some plants need a lot of light and others are fine with less. If you have a sunny spot right by the window versus a dark corner in the back of a room it will lead you to have a different plant. On JOMO Studio's website under that plant's page, it will describe the light requirement for that particular plant so it will do its best. From low, medium to bright light, there will be examples of what each means and where to position your new plant.
Keep in mind that plants that need more light tend to be watered more frequently. As more light means more water as it is processing more energy and using more water. Think of it like yourself outside in the sun on a hot day needing more water than under a tree in the shade.
Learn more about house plant lighting.
5. When to Fertilize
The general rule of thumb is to fertilize your plant during the growing season, spring through late summer. Hold off fertilizing the plant over the winter and it does not need it at that time. Ideally looking for a balanced blend, like a 20-20-20, for most plants we sell. Fertilizer helps the plants with nutrients it needs that is often stripped from the soil with each watering and as the plant naturally depletes the soil. You may dilute the ratio on the bottle if you are unsure of the strength, as it is important to remember that more is not better. Overdoing the fertilizer risks burning the roots and having the foliage showing those signs of a burn.
Learn more about house plant fertilizing.
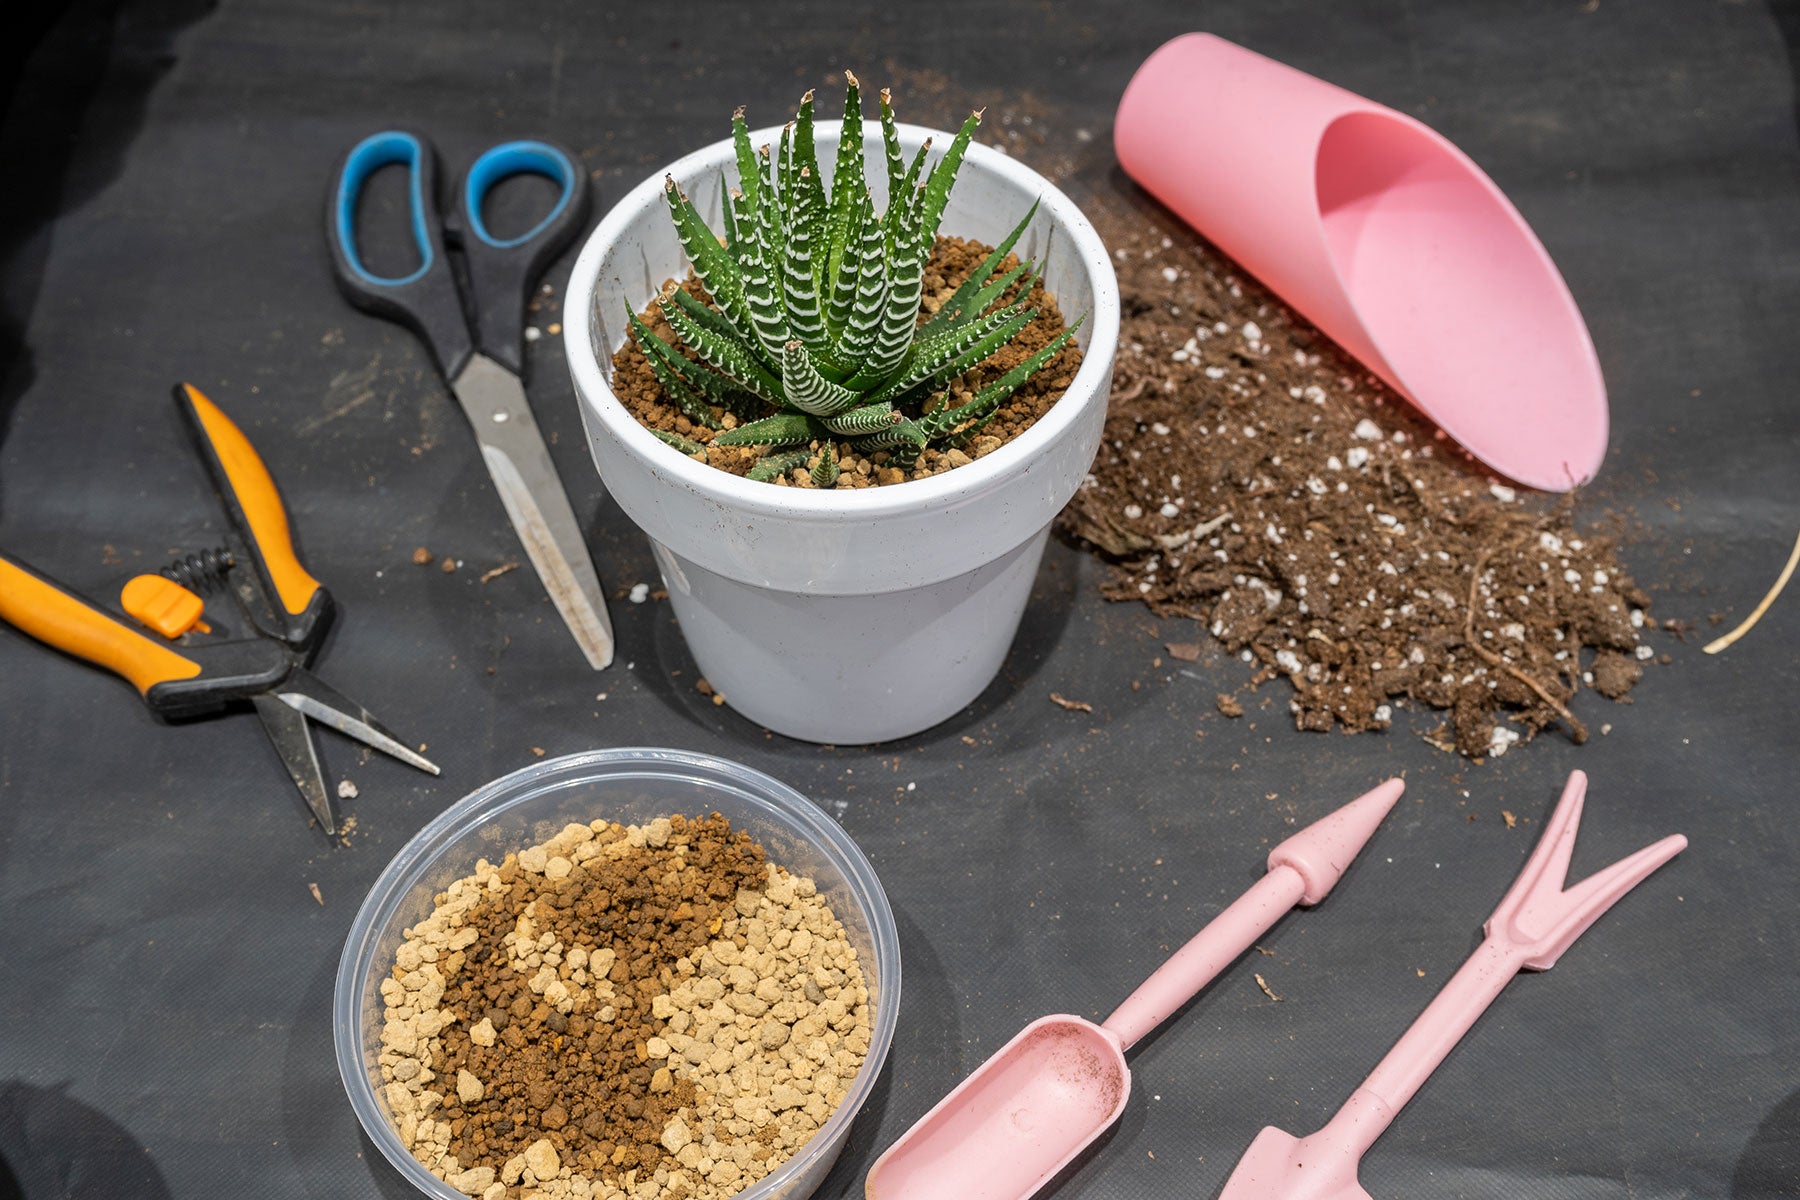
6. Repotting Your Plant
The preferred time for repotting is before or after the growing season — early spring or late fall is best. Repotting during the growing season may stress or stunt your plant and delay it.
The easiest way to see if your plant needs to be repotted is if the root ball has filled the current pot fully. How to check the root ball — squeeze the side of the nursery pot a bit to loosen up the soil and roots, then carefully separate the plant and nursery pot by sliding them apart. Upon inspection, if the roots are full and very visible on the outermost layer of soil all around, it may be a good time to pot up a size. Some plants like snake plants, peace lily, jade, ficus and umbrella trees like to be tight in the pot (root bound), so wait until the roots are deforming the nursery pot and even bursting out before repotting.
When you pot up, just go up by two inches in pot diameter. Any larger than that and you risk having too much soil and moisture around the roots — causing root rot, as the roots cannot absorb all the water within the soil. For example, if you currently have a 4" nursery pot, the step up is a 6" nursery pot.
When you are ready to repot, examine the current soil type, as that will give you a hint as to what type it may need in the new pot, too. Put a bit of new soil at the bottom of the pot to form the base. Then loosen up the root ball of the plant a bit so the roots are not tight, by simply "massaging" the root ball like you would giving a head massage. Some of the roots should be loose from the main part, allowing them to explore the new soil quickly. Then place the root ball into the pot and gently fill around the diameter and a bit on top of the root ball, bringing the soil level to about the height of the new pot. Gentle tuck in the new soil around the plant with your fingers — but avoid packing in the soil tightly. Roots do best if the soil can breathe and evaporate excess water.
If you are newer to the plant community or have a plant that likes fast-draining soil, repotting into another nursery pot is best, then sliding that into a fancy outer pot. The holes at the bottom of the nursery pot will allow any excess water to drain out, decreasing the chances of root rot and other issues caused by waterlogged soil. If you prefer repotting directly into an outer pot, like ceramic, concrete, or terracotta, just be mindful of what the plant's needs for drainage and soil moisture retention.
Learn more about house plant repotting.
7. Humidity Level
As many houseplants are from tropical regions, it is important to understand their needs as you bring them into your home. Typically, there are plants with low, medium and high humidity requirements. On JOMO Studio's website under that plant's page, it will describe the humidity requirement for that particular plant so it will do its best.
We'd like to share some tips here though for increasing the humidity in your home for the medium and high humidity need plants, like Calatheas, Alocasias and Ferns.
A pebble tray is ideal for adding constant humidity around the plants, from the bottom up. This will aid in reducing the leaf browning caused by dry air. A room humidifier is also another great way to increase the humidity in a larger space. Misting plants with a misting bottle is great for those plants that require a medium — or if you are consistent enough — high humidity level. Just be mindful as some plants should not be misted heavily on the tops of their leaves as it may cause fungal issues.
Summary — You've Got This
As most house plants are coming from the most ideal place they can be, a very controlled greenhouse under the supervision of a master gardener, it is to be expected that the plant may need some time to acclimate to your home under its new conditions. Light plays a big part in the health of the plant and might be one of the first things you evaluate if your plant seems to be less happy after arriving in your home. Try to avoid making a bunch of changes all at ones, as that will not only stress your plant but it will also be very hard to determine what was the cause and what did the trick.
If you do run into a hiccup with your new plant baby, first read the plant care instructions on JOMO Studio's website for that particular plant and if the issue persists, contact us with JOMO Studio's lifetime support on plants you receive from us. We are more than happy to help you, always.