

Propagation 105: How to Care for Your Propagations
In This Series
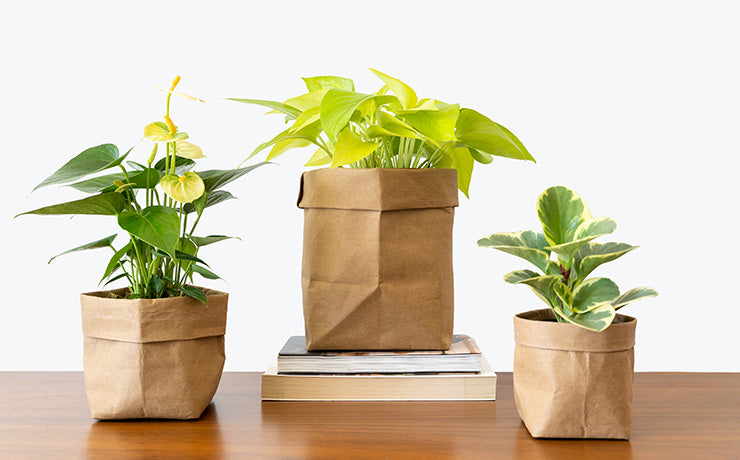
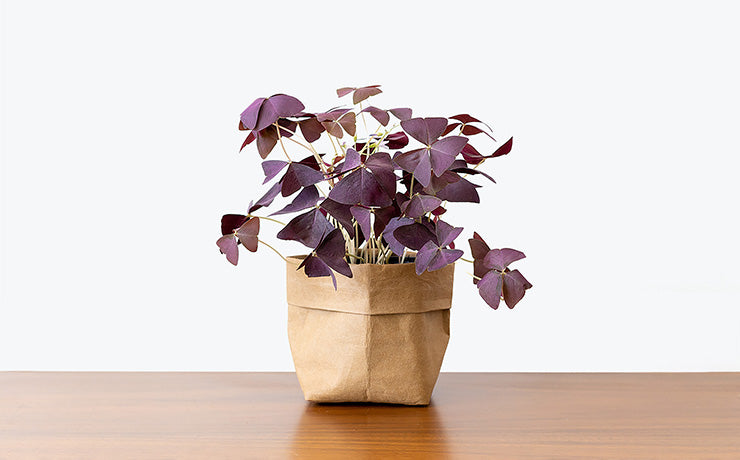
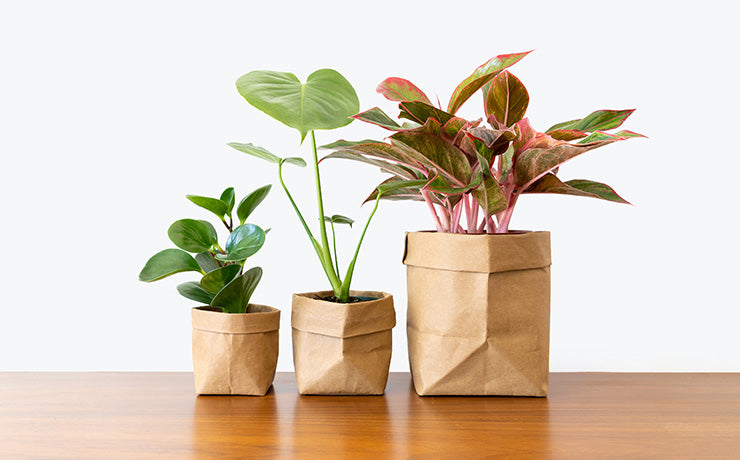
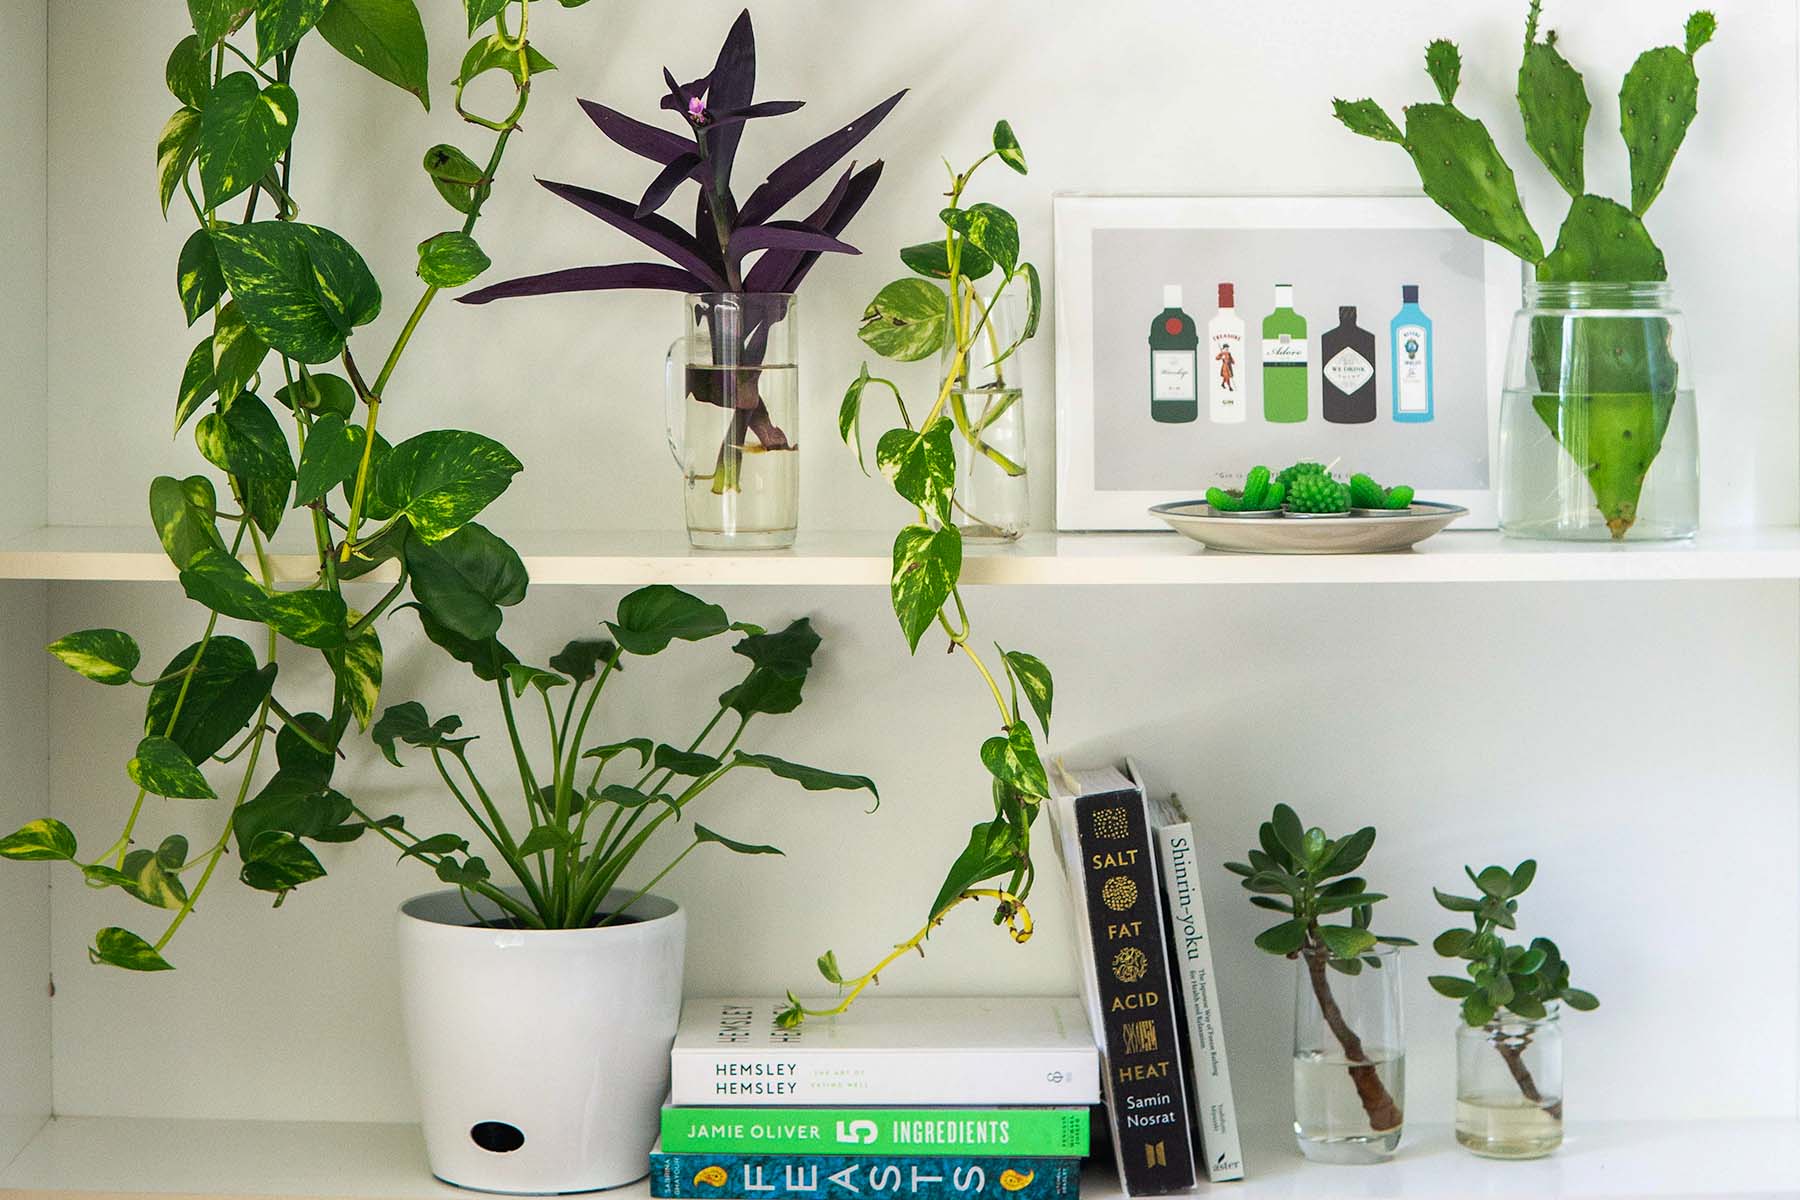
So now you have propagated your plants, no matter the method, it is recommended to keep your plant in an optimal location, which would include the following conditions:
🔆 Light:
Keep your propagations in bright, indirect light - prolonged direct sunlight will be too damaging for the fragile new roots forming. Even if it’s a plant that will eventually be moved into direct light, you don’t want it to transpire too quickly while it is establishing itself. Then, once roots have formed, gradually transition your plant to a location that has appropriate light levels for that variety of houseplant.
💧 Water:
If planted in a potting medium, make sure to keep it evenly moist, not kept too soggy or too dry as the new roots form. Once the roots have become more established, water appropriately going forward, depending on the variety of plants.
🚿 Humidity:
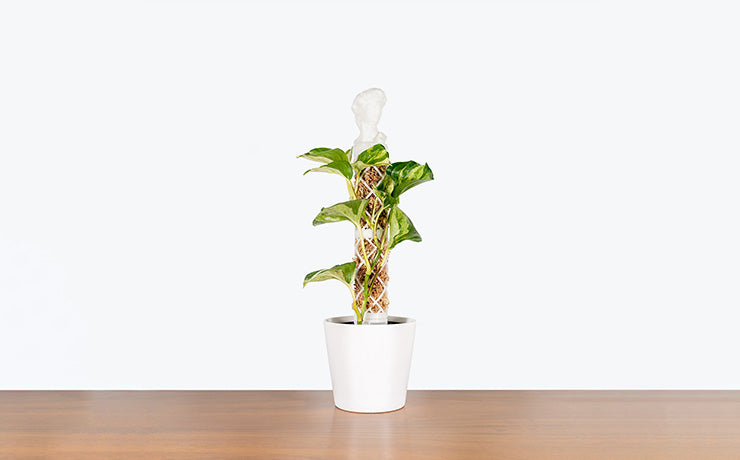
Even though it isn't always necessary, most plants will appreciate added humidity during the process of rooting. High humidity will prevent the potting medium from drying out too much but make sure there is airflow, as excessive humidity could encourage fungal diseases. Humidity can be especially important for some seeds to germinate.
🌡 Warmth:
Newly forming plants should be kept in a warm location to encourage plenty of new roots (this is where the heating pads could come in handy).
🍽 Fertilizer:
Avoid fertilizing after potting up your cuttings as this will burn the fragile new roots if they have even formed as of yet. It would be best to wait until the plant has become more established.
How Long Does the Process Take?
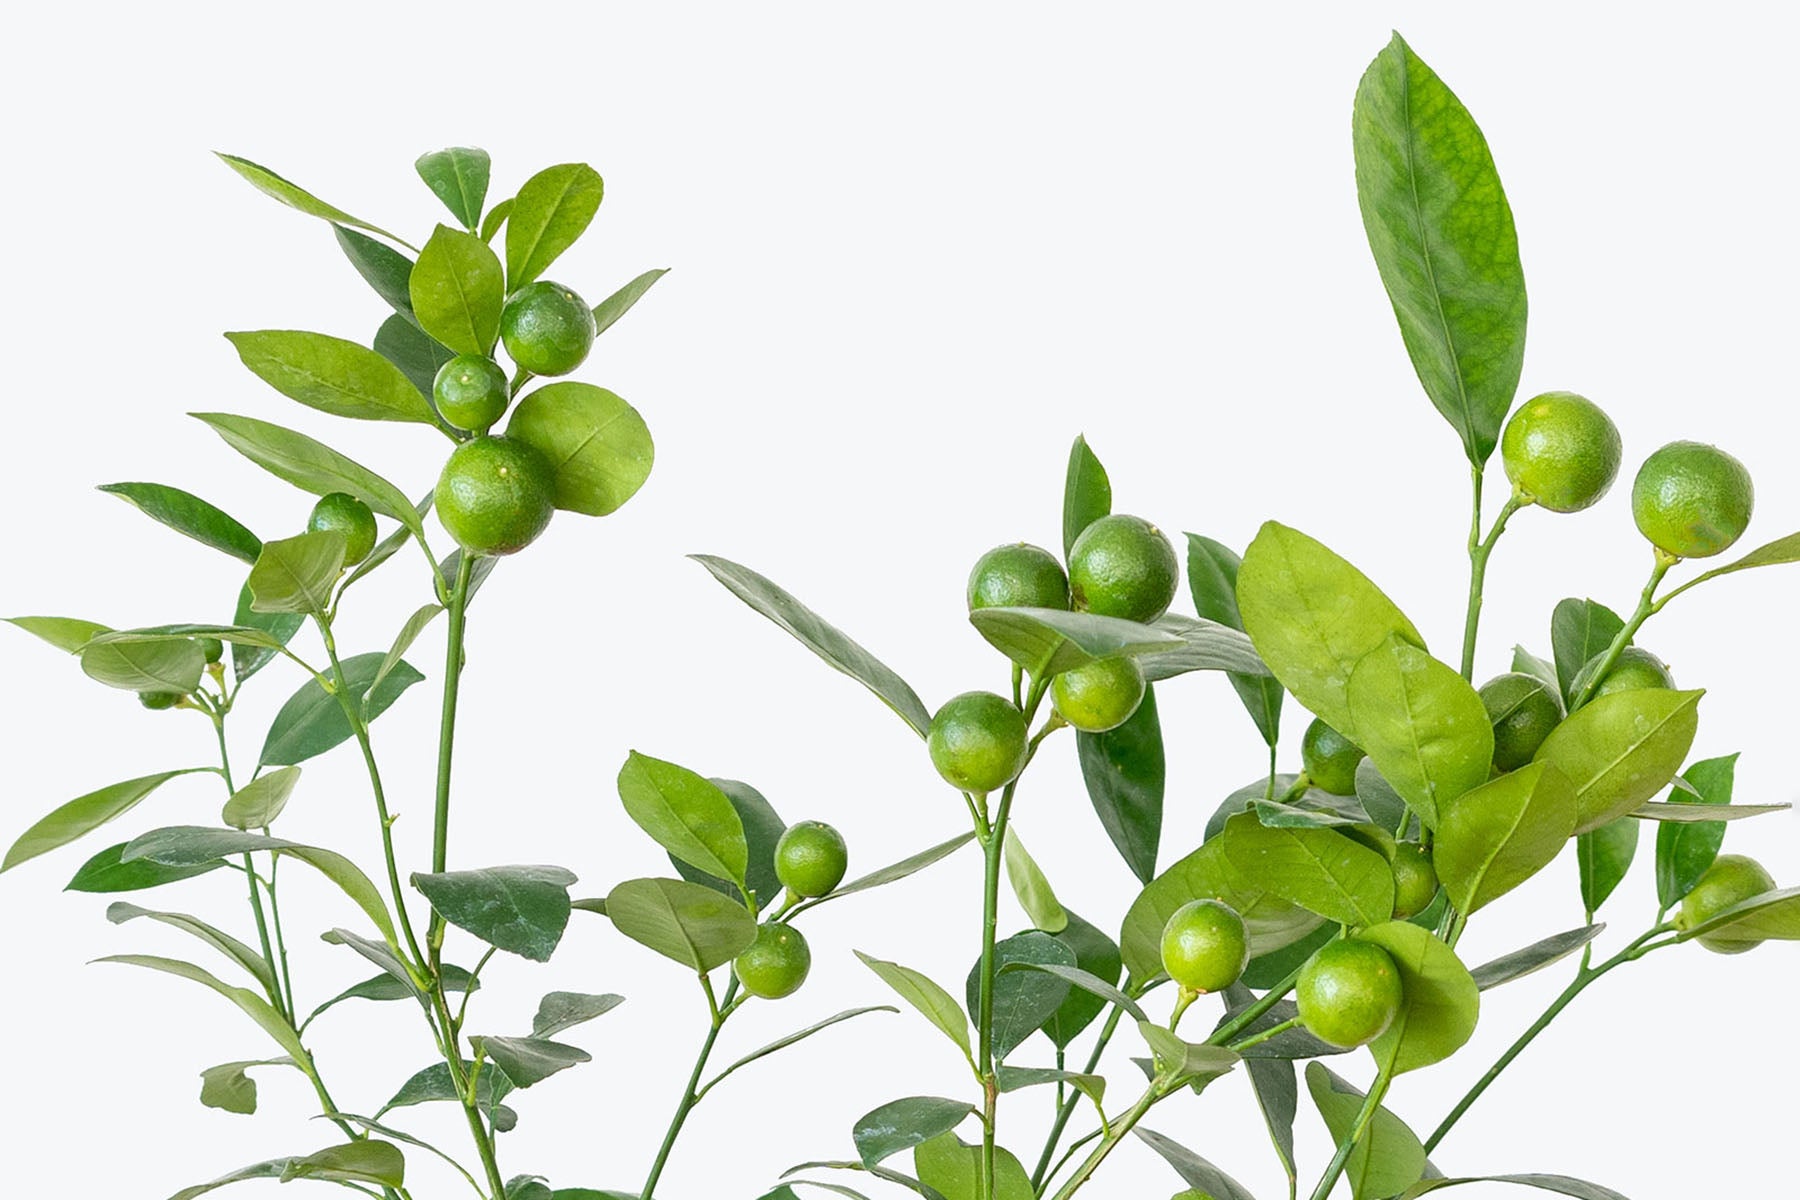
The growth rate of every plant varies from species to species, as do the variables involved in propagating, such as humidity levels, home temperatures, moisture levels, and the health of the original mother plants. A bit of luck is also required, as in most areas of gardening. With that being said, you can expect to see some action anywhere between 2-8 weeks, depending on the plant. Species such as Dieffenbachias and Dracaenas will take a lot longer to root compared to most aroids, such as Philodendrons and Hoyas.
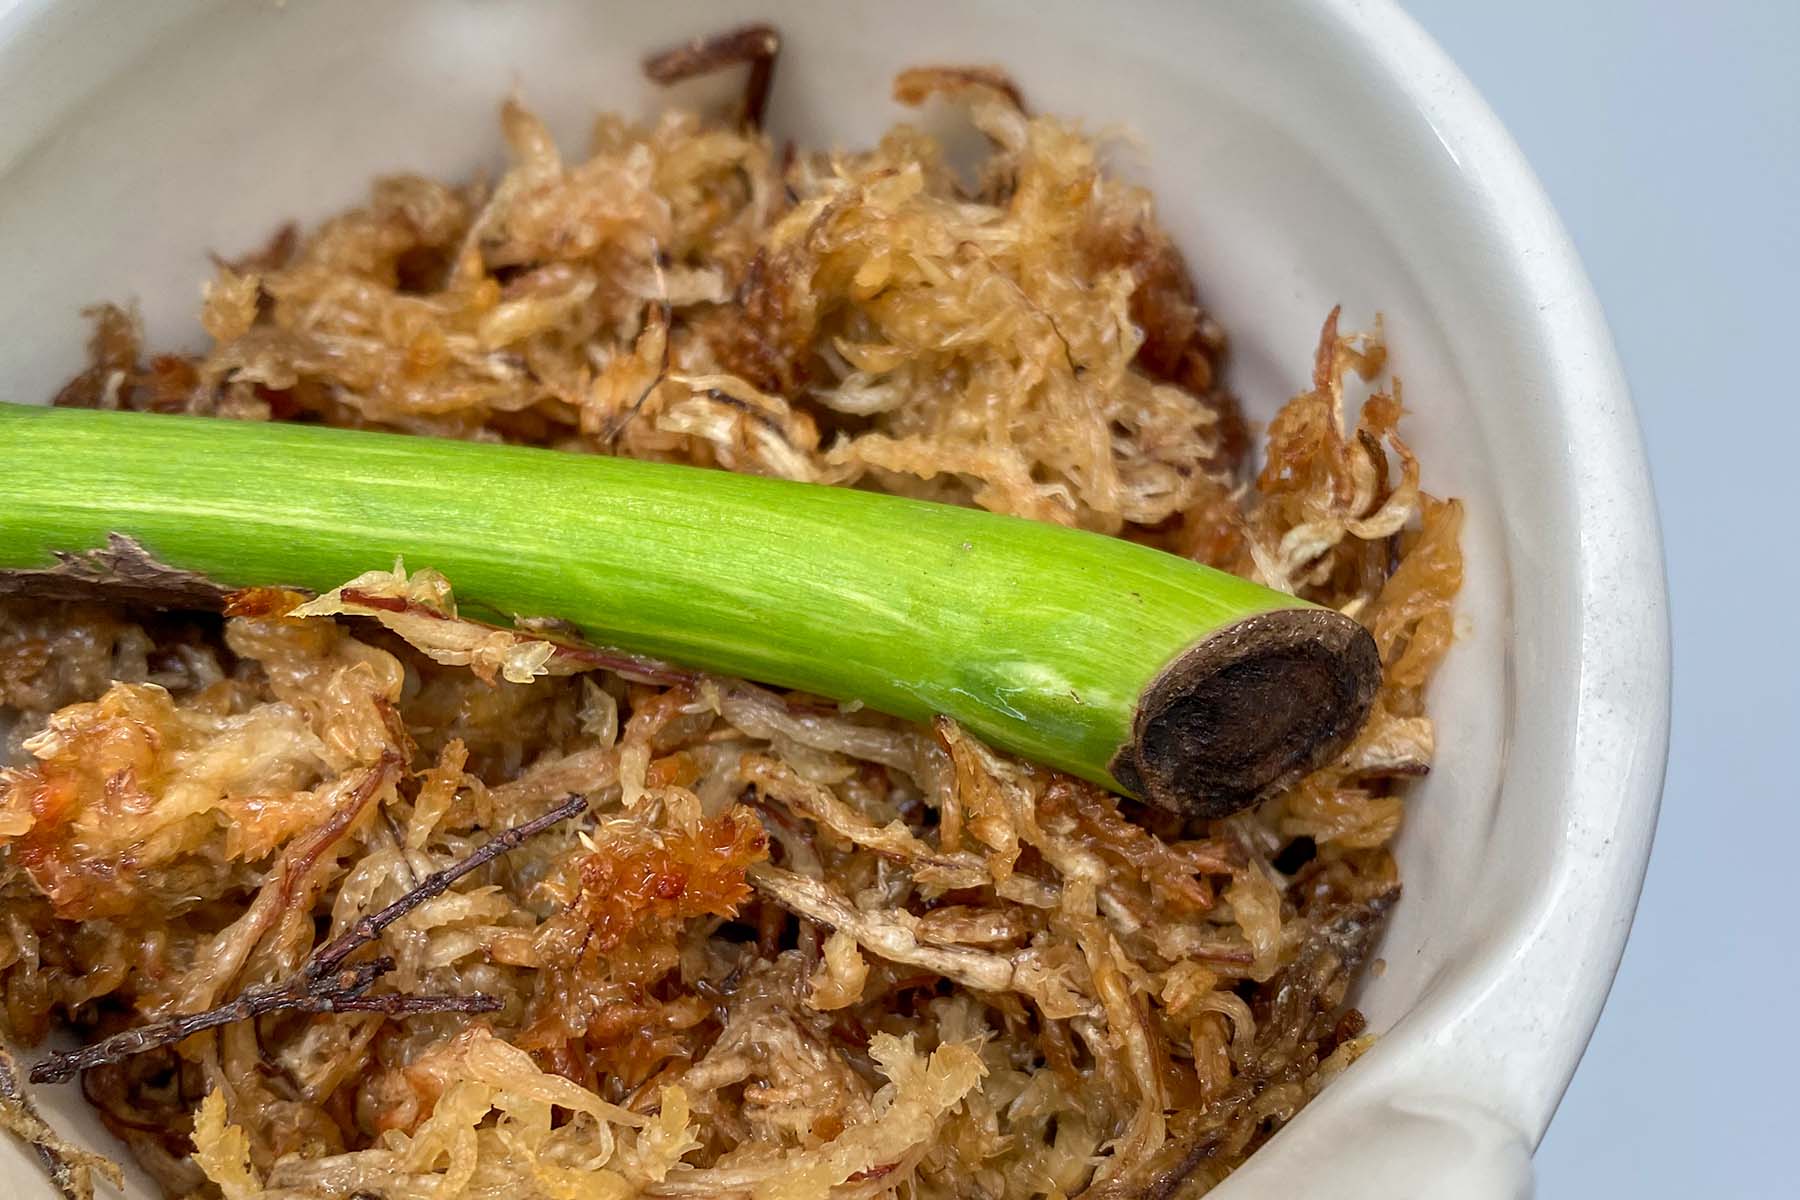
To check if your plants have rooted in their potting medium, tug them very gently - if there is any resistance, new root growth has begun. New foliage growth is also a sign that roots have begun to develop, as plants will often focus their energy on leaf growth after roots have become slightly established. If the plant already had growth when it was divided, that growth remaining healthy and also producing new growth will be another good sign.
The speed depends on so many factors, that is why it is so important to start off with a healthy cutting, using the appropriate medium, to encourage root growth as fast as naturally possible. Patience is key in this hobby!
Common Problems
As with anything involving growing your own plants, there will be some problems that could pop up throughout the experience, or your experiments could even not work out as you wanted them to. The following are the most common problems you could experience throughout your propagation journey:
No roots forming:
This is a very common occurrence if the conditions are not ideal for your plant. Is the soil medium too dense? Is the plant receiving enough bright light? Is the medium kept just moist enough? Is the plant in a location that is too cold?
Adjust the conditions or location of your plant to the optimal ones that we described earlier in this guide. Also, please be sure to be patient in this journey, just as in most areas of life, change does not happen overnight.
Dead cuttings:
If the conditions are not being met, or if the original propagations were not very healthy, this can result in the loss of some of them. It is very important to choose healthy portions of your plant and to care for them consistently - propagations will be less forgiving than established plants. Using a sickly plant could produce less than favourable results.
Rotted propagations:
This can occur when a plant has received too much moisture and is constantly soaking wet.
Loss of variegation:
When you are propagating variegated species, it can be common for them to lose their colouring and revert back. Variegation is already an unstable mutation in plants and can be lost during the propagation process. If there is still some colouring but it is lacklustre, make sure to keep your plant in brighter light to encourage more!
Propagation is not always successful and neglect (or even consistent love and care) could end in failure. This is all normal and a part of the journey of growing your own plants, don't give up though! Keep experimenting with your plants and seeing what works for each plant, or why not try all of the methods?
We hope you have enjoyed this journey of learning all the propagation methods that are most commonly seen. If you haven't read them all, go back to all of our guides and learn even more! Should you ever try out propagation for yourself and have any questions about what to do, feel free to reach out to our team for assistance, we are always happy to help. Good luck!