

Propagation 104: How to Propagate by Layering & Seeds
In This Series
Propagating plants by layering is a method of rooting a part of the mother plant prior to severing it, or removing it. This process can be quite successful since the sections to be cut are still attached, and receiving nutrients from, their parent plants, rather than having to produce new roots on their own after being cut. Doing so puts less stress on the section to be propagated.
There are a few variations to this method, the most common being air layering and soil layering, which are described in-depth below, but they are both rather simple! These methods are especially common on Philodendrons, Pothos, Syngoniums, Ivy, Monsteras, String of Hearts, Hoyas, Spider Plants, Dieffenbachia, Dracaena, and Dwarf Umbrella Plants. Let's dive into both methods below.
What You Will Need
Let's outline what tools and materials you may need throughout this process (some are necessary, some are "nice-to-haves"):
A plant:
Obviously, you will need a plant to propagate! So select the healthy plant you would like to use - although lots of plants can be propagated, some are more successful than others, so the plant of choice will depend on that as well as the propagation method.
Tool of choice:
Sterilized scissors, knife, or clippers - clean tools (done using diluted bleach or rubbing alcohol) will reduce the risk of transmitting diseases or pests between plants.
Rooting materials:
In the case of air layering, before your cutting is rooted in soil, it will need to root in sphagnum moss while it is still on the plant. Plastic wrap will also be required to wrap around the moss ball where the roos will form.
Potting medium:
You will need your preferred medium for when it is time to pot your propagations up. This could be a chunky soil mix, like our Aroid Mix, a regular Potting Mix, vermiculite, perlite, orchid bark, water, etc. It will all depend on what you prefer, or on the plant that you have chosen to propagate. Avoid garden soil as this is much too dense!
Potting materials:
Have some nursery pots or shallow plastic trays (all with drainage holes) ready for your propagations to be planted into. Generally, your cuttings will not yet have roots, so you do not need much potting media to start with (this will also reduce the chance of rot). If you are putting your cuttings in water, have a glass cup or jar on hand.
Other materials:
Some other materials to have on hand would be: a watering can, a potting mat, gloves, a spray bottle to mist the cuttings as they grow, and rainwater, distilled water, or tap water that has sat out overnight would be the best kind of water to use to water your cuttings.
"Nice-to-have" materials:
Although the following materials aren't necessary, they can encourage roots to form faster than they normally would: rooting hormone (we outline how to use it throughout the processes below), grow lights (to increase the light levels), and heating mats (keeping the plants and their new roots warm is important).
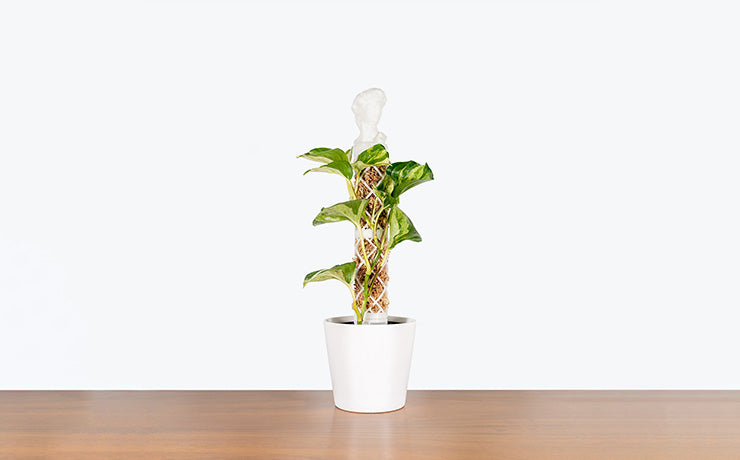
Air Layering
Air layering is the propagation process of inducing roots on a plant stem while it is still attached to the parent plant using sphagnum moss to create a humid microclimate around a portion of the stem. Depending on the variety of plant, some extra steps will be necessary, but the following process should be followed to achieve a successful propagation, including broken down information for specific plants:
Step 1: Preparation
Since you will be using sphagnum moss for this process, prepare it by moistening it until it has expanded fully, removing any excess water that is left and squeezing out the moss - we want the moss moist, not soaking wet. Have some plastic cling wrap, or some sort of plastic material, ready to wrap around the section to be layered once the process is complete.
Step 2: Identification of cutting
Climbing plants (i.e. Monsteras, Philodendrons, Pothos, Hoyas, and Syngoniums)
- Look for a portion of stem that has a node (where a leaf meets the main stem) or a portion with aerial roots. This is the portion of the stem that will be covered up to encourage roots. Remember that the entire rest of the plant that is above this cutting will also be coming with it.
Aerial roots: roots that grow on the stem of plants above the ground. These are used by climbing plants to latch onto structure for support as well as to collect nutrients and moisture from the air.
Woody-stemmed plants (i.e. Dieffenbachias, Scheffleras and Dracaenas)
- Identify where on the stem you would like to make the cutting. Think about what size you would like the new plant to be, where the plant has become stretched out, where the healthy sections are, etc.
Step 3: Incision
This step only applies to woody plants, since they will need an incision to be made before wrapping them up in moss, unlike climbing plants. Make an incision on the stem about halfway in, not cutting through it completely, with a slight upwards angle. If you have rooting hormone, coat the cut with the powder and then place a toothpick or matchstick into the incision - this will keep the cut slightly open so that it doesn't heal itself, we want roots to form instead!
Although there are a few ways to propagate woody-stemmed plants, we chose one of the more simple methods, feel free to do even further research online for more options!
Step 4: Wrapping
One both types of plants, collect a ball of sphagnum moss and wrap it around the portion of stem to be propagated. Make sure the stem is fully engulfed by the moist moss and either the aerial roots, node, or incision are covered. Then, wrap the plastic cling wrap around the moss, or place a clear plastic cup that has a hole cut just large enough to fit the stem at its base, as if the stem is coming through the cup and it is full of moss. Make sure there are some holes if the plastic wrap is used to ensure there is some ventilation, allowing airflow to get to the roots.
🚰
If the moss is more exposed, as it would be with the cup option but also could be with the plastic wrap, make sure it is always kept moist because we want to create a humid microclimate for roots to form.
Step 5: Patience
This may be the hardest step of all, since you will need to be patient waiting for roots to form. Using clear, plastic materials is recommended because once you start to see a bunch of new roots, that's when you know it is time to separate the cutting!
Step 6: Removing the cutting
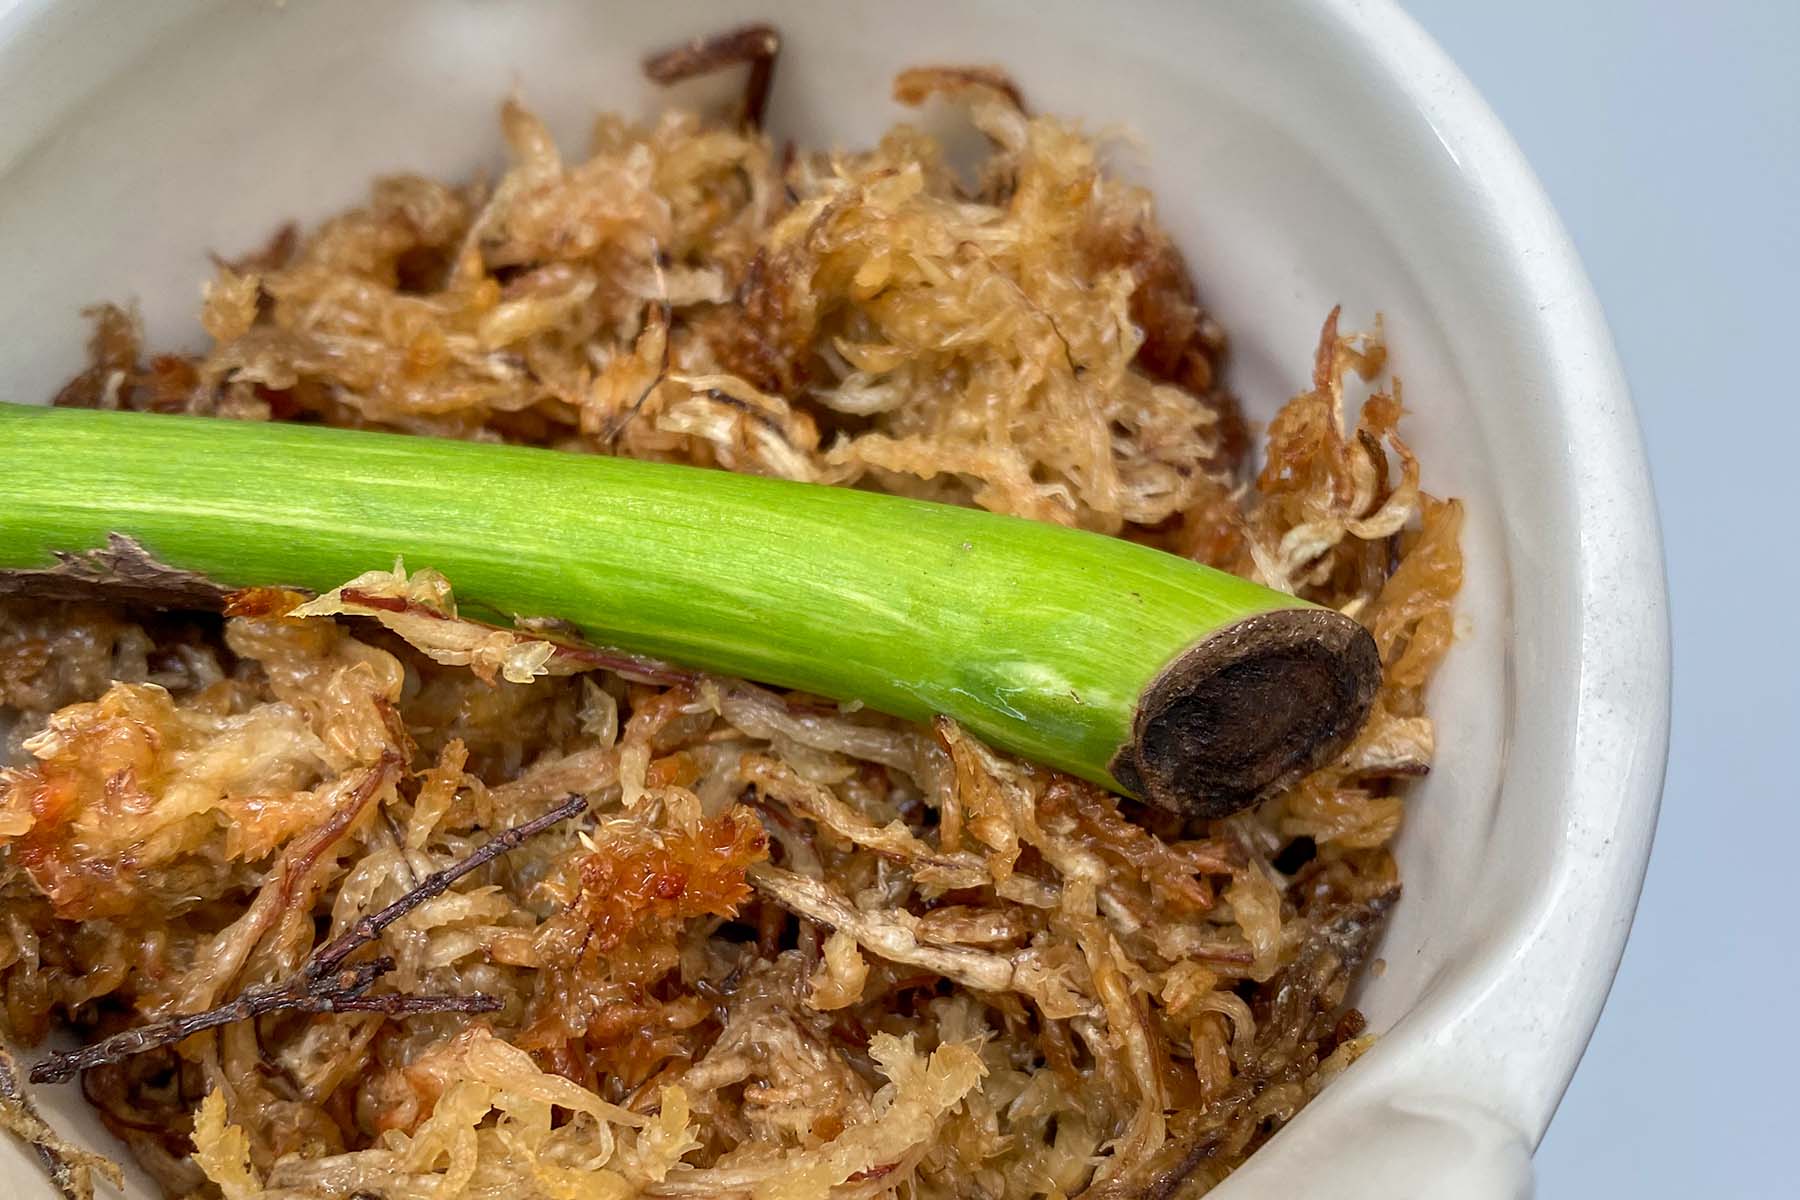
Once the roots have formed, remove the plastic wrap and as much of the sphagnum moss as possible, making sure to not damage the delicate new roots. If there is still a little bit of moss left, this is nothing to worry about. Then, trim the cutting off an inch or so below where the new roots have formed.
Step 7: Potting the cutting
Insert the cutting deep enough into the new pot and potting medium so that the roots are below the surface and it is able to support itself.
Since the roots have already formed prior to separation, it's as easy as that! Now you just need to give the plant time for the roots to acclimate to the soil. Taking these cuttings will often encourage more growth on the parent plant, creating a fuller plant or encouraging branching where the plant was cut. By taking these cuttings and growing a new plant, or putting them back into the pot with the parent plant, you are going to see lots of new growth all around, while also eliminating any "leggy", or stretched growth.
Soil Layering
Similar to air layering, soil layering is propagating a portion of a plant that is still attached to the mother plant, but this method involves pots and soil directly, rather than moss balls on the stem. This makes the method quite easy! It cuts out additional steps and allows you to root your plants while still attached to the mother plant, using the energy from a mature specimen, and rooting in soil right away.
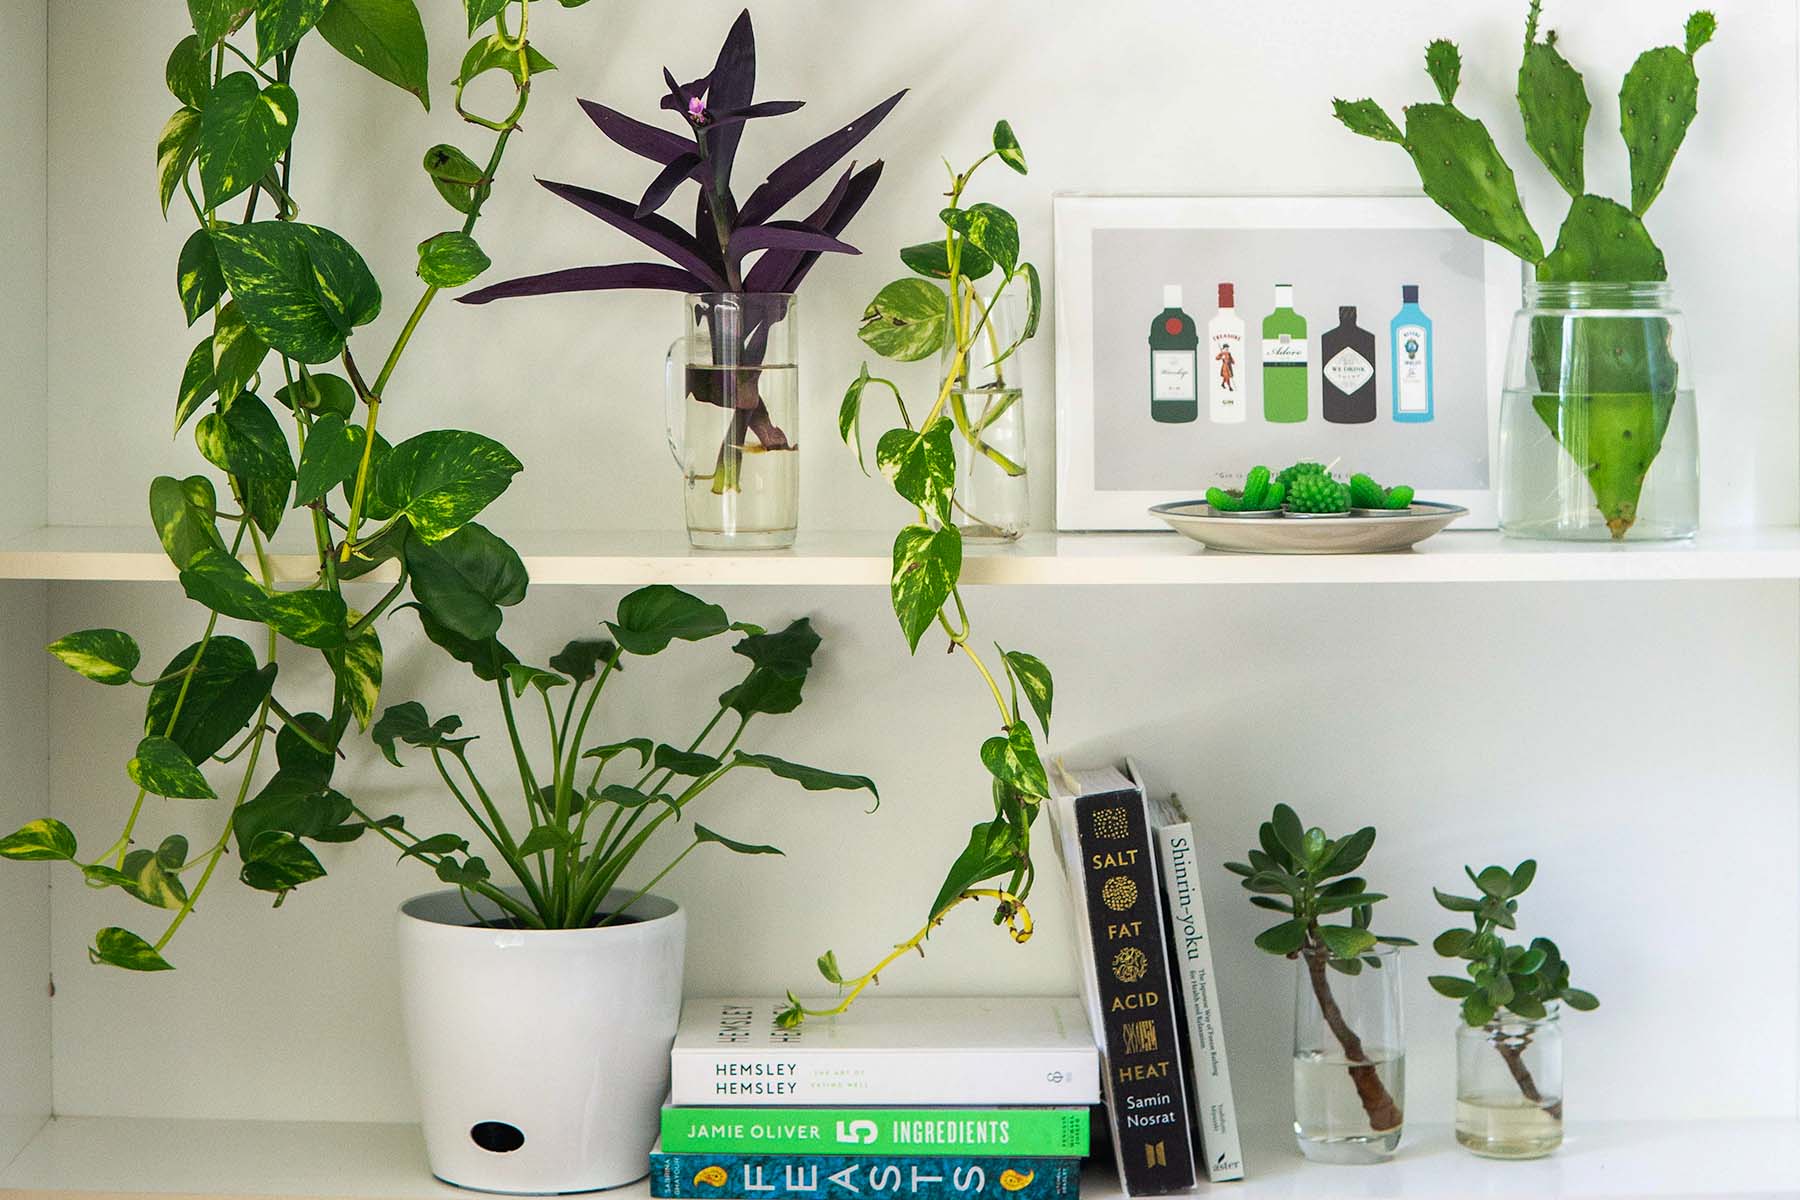
Trailing plants, such as Pothos, Philodendrons and String of Hearts, are often propagated using this method, but it will also work on Spider Plants since they have a unique way of reproducing. The majority of climbing (or trailing) plants will produce runners, which are long, searching stems that will root in soil if given the chance. They don't necessarily have to have aerial roots, since they can also root from their nodes if they are in contact with soil, but those are definitely a bonus to have if applicable!
The following process should be followed to achieve a successful propagation:
Step 1: Preparation
Prepare an appropriately-sized pot (depending on the size of the cuttings as well as how many you will be using) with your medium of choice, based on the plant you will be using. Water the medium so that it is evenly moist.
Step 2: Choice of propagations
To choose your cuttings, it is recommended to select a piece that is 2-6 inches in length with enough nodes and aerial roots. The tips of stems are often better because after they are trimmed off of the mother plant, she can begin to produce new growth while still having some length left. The nodes are what will be planted secured to the top of the soil and from which new roots will grow.
🕸
For Spider Plants, find the largest spiderette, or spiderettes if you wish to do more than one, with a decent root system attached.
Step 3: Placement of sections
TKeeping your new pot close to the original pot, so that the cuttings can reach from the mother plant comfortably, place all the trailing sections onto the fresh soil, making sure any nodes, or aerial roots, are making direct contact. If they don't seem to sit flush with the soil, pin the stems down gently with bobby pins so that they do. In regards to Spider Plants, make sure their root systems are below the soil line and the plant is situated correctly in its new pot, while still being attached to the parent.
🌿
It is best to use as many trailing sections as possible so that the new plant is full and lush.
Step 4: Patience
Give your plants time for roots to grow! You can check their growth status by gently tugging on the stems, if there is any sort of resistance, root growth has most likely begun. Make sure the soil is kept evenly moist as they form.
Step 5: Trimming
Once the sections have formed roots, the propagations can be trimmed off of the mother plant and you can either keep your plant in its new location or give it away and share the love.
This method is so simple and very easy to achieve, because the sections to be propagated are still attached to the mother plant and are therefore receiving plenty of support as they begin to form new roots. Go ahead and try this method out to see how easy it is for yourself!
Starting from Seed
The final propagation method of starting your plants from seed is still fairly uncommon in the houseplant world, especially here in North America. Although possible, it takes a lot longer for plants to reach a good size compared to other forms of propagation, where you can have a regular-sized plant in no time. You will also need very specific conditions to encourage the seeds to germinate, such as consistent high humidity and plenty of bright, indirect light. We don't get fully into this method but there are plenty of resources online for you to refer to if you wish to take this route. If you want larger plants faster, stick to the previous three methods!
It can be common to see side projects grown from seed, such as Avocados, Lemon Trees, Asparagus Ferns, Bromeliads, and Kalanchoes, but these will all take quite some time to realize their full potential. Although propagation can be fun, there are tons of plants available on the market to invest in instead, unless you love the excitement of these long-term projects.