Everything You Need to Know about Growing Your Own Herbs
Let's start off with what herbs actually are, then we can get into why everyone should be growing them! Herbs are any plant with leaves, seeds or flowers used for flavouring food, medicine, or perfume, but usually just for food in most modern-day homes. Not only do herbs provide you with some delicious foliage, but they are also incredibly easy to maintain. They're not like fruiting plants, where you have to be successful at every stage in order to reap the rewards, the rewards are right there waiting for you in the aromatic greenery of your herbs! They can even be grown inside during the winter, so you can have any fresh herb your heart desires, all year long.
They will provide beauty, fragrance, and flavour to any balcony, garden, or even a bright, sunny windowsill. As a bonus, they require very little care and maintenance once planted, besides consistent watering and harvesting. The kit we have curated for you comes with everything you need to be successful in your journey of growing, then harvesting what you have grown, and then enjoying it with your friends and family! Keep on reading to find out how to grow a lush herb garden and how to reap the maximum benefits.
Planting Your Herbs in 5 Simple Steps
Although you can leave your plants in their nursery pots, for best results they could be potted up into either a window box (which we outline how to do so below) or a 6" pot with drainage holes (such as a terracotta pot). Begin by preparing a space to work in, as things tend to get a little messy when you're working with soil. Your herbs will need ample nutrients, airflow, and moisture retention at the root level in order to support their vigorous growth, which is why we recommend a soil-based medium that is mixed with peat moss, we offer a Potting Mix that would be perfect for your plants. Regular garden soil is too heavy, reducing soil drainage and will dry out quickly. We definitely don't want that!
Step 1: Add initial layer of soil
Spread an initial layer of soil in the bottom of your container, enough that when each herb plant is arranged on top of that soil, they sit about 1 inch below the rim of the pot.
Step 2: Positioning
Remove your herbs from their grow pots, gently loosen up the bottom of the soil and roots, and then place your herbs so that they are spaced out equally within the container.
📋
We recommend arranging your plants like so: Rosemary on one end, Basil in the middle, and Garlic Chives on the other end. Rosemary is a Mediterranean herb, so it enjoys slightly drier soil than the other two herbs, which will allow you to water it a little less.
Step 3: Fill the pot with soil
Once the herbs are spaced out appropriately, add in enough soil so that the top of the soil in the pot reaches the top of the soil of each herb. You only want to plant your herbs container deep.
🚨
Avoid packing the soil in to densely as herbs like an airy soil. If you feel as though you have pressed it in too strongly, tap the sides of the planter to loosen it up a bit!
Step 4: Water thoroughly
Now that the herbs have all been planted, water your planter thoroughly, until there is water coming out of the drainage holes and the soil is saturated.
Step 5: Placement
After the work is done, all that's left to do is to find the perfect spot for your plants! Herbs need plenty of sunlight, about 6 - 8 hours every day, in order to produce healthy foliage so it is important to keep them in a sunny windowsill or balcony. Once the outdoor nightly temperatures are consistently over 10 degrees, then you can keep them outside for the season.
Care Guide
In order to get the maximum enjoyment out of your herbs, it is important that they are cared for properly. Luckily, this is quite an easy feat, as they are fairly simple to care for outdoors, as well as indoors. Once they are in the proper soil, receiving the proper light, and the proper amount of water, all that's left to do is proper harvesting and pruning!
Lighting Requirements:
- Herbs need very bright and warm locations, meaning 6-8 hours of sun a day with temperatures ranging between 18-25 ℃
- Those grown in lots of sunlight will have the best growth and flavour, which is why lighting is so important. Herbs also release their delightful fragrances in the warmth of the sun or when you brush up against them.
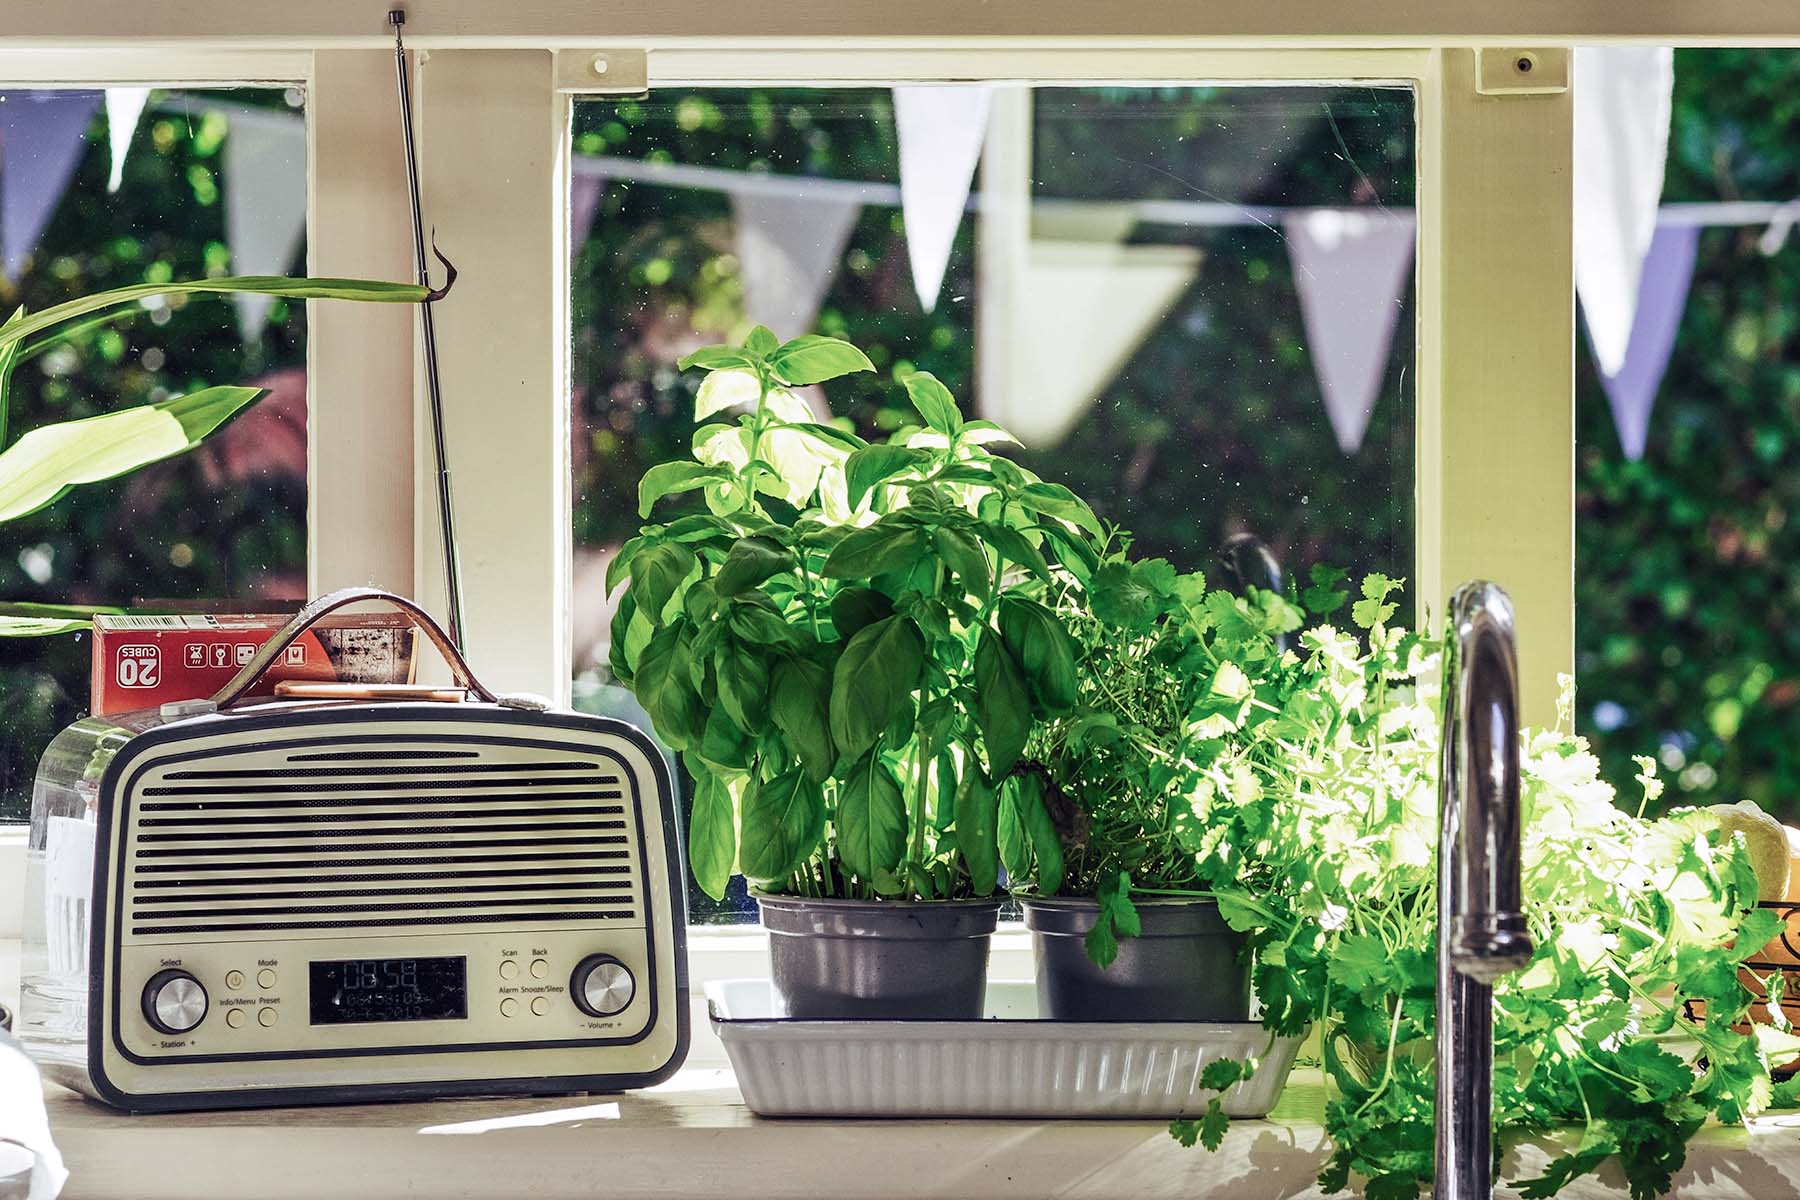
- Indoor Herbs: A warm, sunny Southern window is ideal for your herbs, but avoid letting their leaves touch the glass directly as this can burn the leaves. Grow lights are also a great alternative!
Watering Requirements:
- Water your plants thoroughly whenever the top two inches of soil are dry, giving enough water that the soil becomes fully saturated. If it feels moist, hold off on watering. When it is very hot and sunny outdoors, you may need to water your herbs once or twice a day
- Avoid keeping the soil constantly soggy as excess water will cause too much growth while diluting the flavour
- Indoor Herbs: You should be watering your indoor herbs every 2-3 days, if it seems as though they need it daily, increase the humidity by placing the planter over a pebble tray (filling a tray with pebbles and pouring in water just until the pebbles are covered) or keeping them a little further back from the window
🚿
Concentrate most of the watering on the Basil and Garlic Chives as Rosemary will need a little less water.
Fertilizing Requirements:
- Use an organic, diluted, balanced, water-soluble fertilizer once every 3 weeks
- Avoid over-fertilizing, as this will reduce the essential oils of the plant, which, in turn, will greatly reduce their flavour and aroma
Harvesting & Pruning Requirements:
- Pinch and prune often! The more you harvest your herbs, using clean scissors or clippers, the more they will produce. Never remove more than 1/3 of the plant when harvesting.
- Pinching will lead to branching, which leads to a fuller plant while also not allowing the plant to become too overgrown
- Prune off any flower buds that start to grow because once flowers are able to bloom, the herb will stop focusing on tasty growth and their flavour will decline and turn bitter
- For Garlic Chives in particular, snip some to use when they are at least 6 inches, being sure to leave at least 2 inches left, they will rapidly grow again!
How to Use Your Herbs
Now that the majority of the work is done, it's time for the fun part: enjoying the herbs that you grew! Being able to harvest and use the produce that you cultivated is an incredibly gratifying feeling. We wanted to include some ideas at the end of this article to give you inspiration for how to incorporate your herbs into your kitchens this summer:
Basil:
The ultimate pairing for any dish that involves tomatoes, it is so easy to just pinch off some leaves or stems of Basil to add to salads, sandwiches, tomato sauces or pizza. You can even make your own pesto!
Mint:
Snip as needed, leaving a couple of inches of leaves to regrow, and you’ll have plenty of refreshing herbs for seasoning salads, fruit desserts, and beverages like mojitos or mint tea!
Rosemary:
Trim off 1" - 4" sprigs of rosemary to add to your grilled steak, chicken, or pork meals. Want to make a delicious, savoury soup? Adding rosemary will take it to a whole other level. It can even be used to garnish and flavour a summer cocktail.
Have fun with your recipes!
